Sweet & Salty Pretzel Caramel Blondies Recipe
Introduction
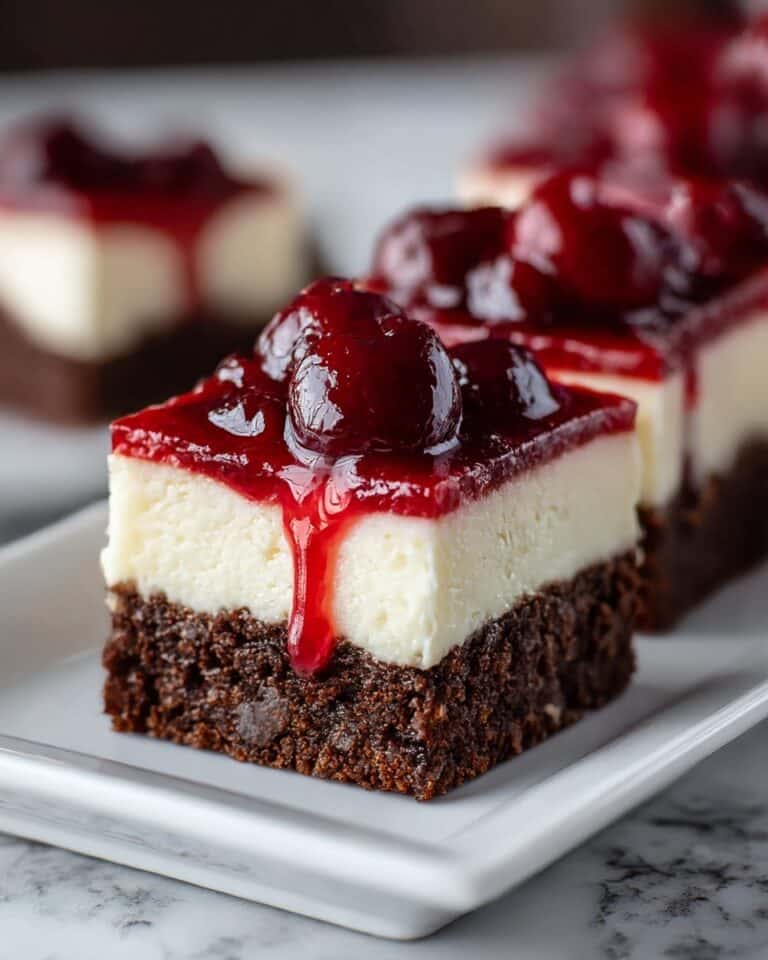
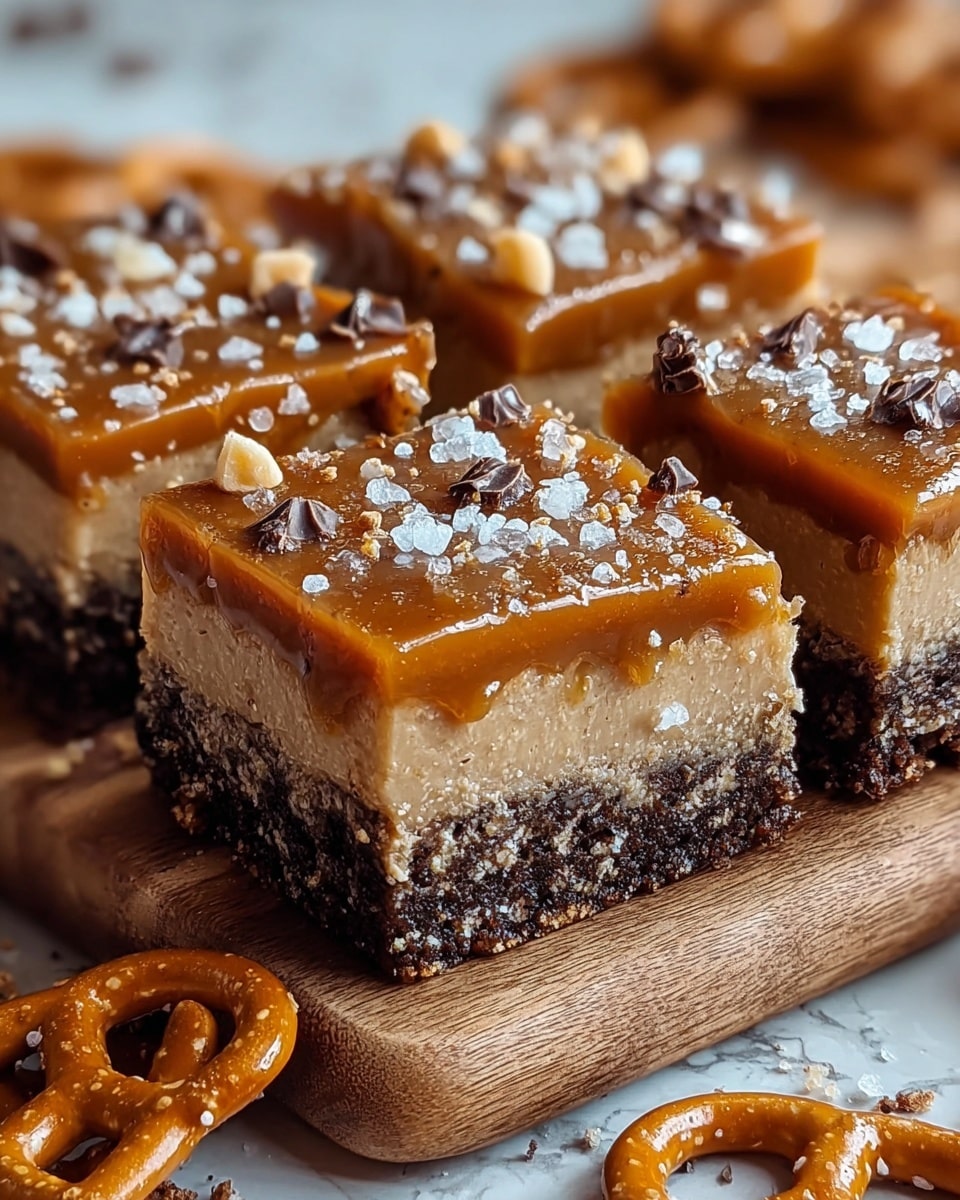
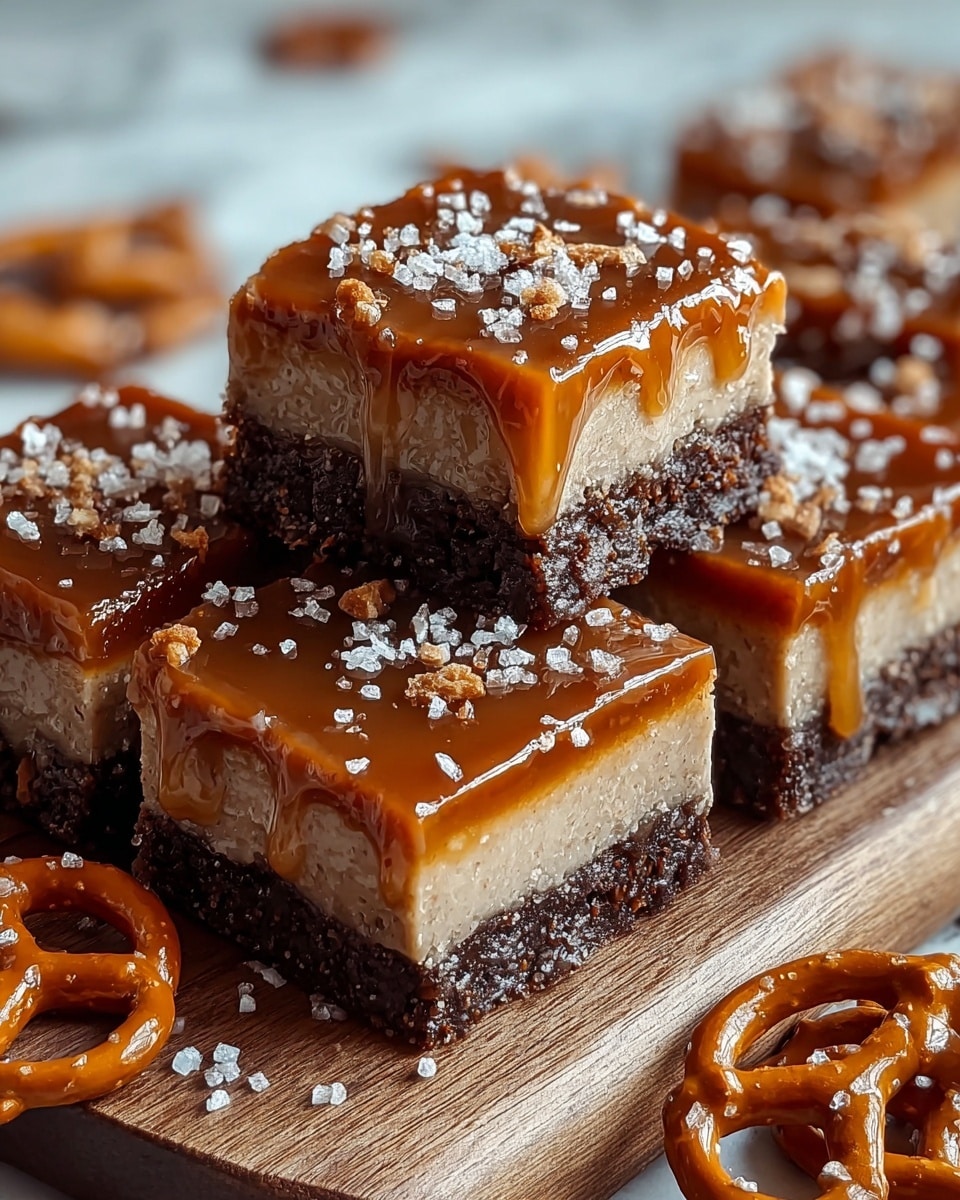
Sweet & Salty Bliss is the perfect treat for those who love a balance of flavors. These blondies combine rich caramel, crunchy pretzels, and a touch of sea salt for an irresistible dessert. Whether you’re baking for a party or a cozy night in, they’re sure to delight.
Ingredients
- 1 cup unsalted butter (2 sticks), melted
- 1 cup packed brown sugar
- 1/2 cup granulated sugar
- 2 large eggs
- 2 teaspoons vanilla extract
- 2 cups all-purpose flour
- 1 teaspoon baking powder
- 1/2 teaspoon baking soda
- 1/2 teaspoon salt
- 1 cup crushed pretzels (plus extra for topping)
- 1 cup caramel sauce (store-bought or homemade)
- Flaky sea salt for finishing
Instructions
- Step 1: Preheat your oven to 350°F (175°C). Grease a 9×13 inch baking pan or line it with parchment paper for easy removal.
- Step 2: In a large mixing bowl, combine the melted butter, brown sugar, and granulated sugar. Whisk until smooth. Add the eggs one at a time, mixing well after each addition. Stir in the vanilla extract.
- Step 3: In a separate bowl, whisk together the flour, baking powder, baking soda, and salt.
- Step 4: Gradually add the dry ingredients to the wet mixture, stirring until just combined. Be careful not to overmix.
- Step 5: Gently fold in the crushed pretzels until evenly distributed throughout the batter.
- Step 6: Pour half of the batter into the prepared pan and spread it evenly. Drizzle half of the caramel sauce over the batter. Then, spoon the remaining batter on top, and finish with the rest of the caramel sauce. Use a knife to swirl the caramel gently into the batter.
- Step 7: Sprinkle extra crushed pretzels over the top and a generous pinch of flaky sea salt.
- Step 8: Bake in the preheated oven for 25-30 minutes or until the edges start to turn golden and a toothpick inserted into the center comes out with a few moist crumbs.
- Step 9: Allow the blondies to cool in the pan for about 10 minutes before lifting them out onto a wire rack (if using parchment). Let them cool completely before cutting into squares.
- Step 10: Serve them as a delightful dessert, or pack them for a sweet snack on the go!
Tips & Variations
- Use homemade caramel sauce for a fresher, richer flavor.
- For extra crunch, add chopped nuts along with the pretzels.
- Swap pretzels for salted nuts or crispy toffee bits for a different texture.
- Don’t skip the flaky sea salt on top—it enhances the sweet and salty contrast beautifully.
Storage
Store blondies in an airtight container at room temperature for up to 3 days. For longer storage, keep them in the refrigerator for up to a week. Reheat gently in the microwave for 10-15 seconds to soften the caramel before serving.
How to Serve
Serve this delicious recipe with your favorite sides.
FAQs
Can I make this recipe gluten-free?
Yes, you can substitute the all-purpose flour with a gluten-free baking blend. Be sure to choose one that includes xanthan gum or a similar binder for best results.
Can I freeze the blondies?
Absolutely! Wrap cooled blondies tightly in plastic wrap and place in a freezer-safe container. They will keep well for up to 3 months. Thaw at room temperature before serving.
PrintSweet & Salty Pretzel Caramel Blondies Recipe
Sweet & Salty Bliss is a decadent dessert combining the rich flavors of buttery blondies with the crunch of crushed pretzels and the gooey sweetness of caramel sauce. Finished with a sprinkle of flaky sea salt, this recipe offers the perfect balance of sweet and salty in every bite, ideal for casual snacking or a special treat.
- Prep Time: 15 minutes
- Cook Time: 25-30 minutes
- Total Time: 40-45 minutes
- Yield: 12 servings 1x
- Category: Dessert
- Method: Baking
- Cuisine: American
Ingredients
Wet Ingredients
- 1 cup unsalted butter (2 sticks), melted
- 1 cup packed brown sugar
- 1/2 cup granulated sugar
- 2 large eggs
- 2 teaspoons vanilla extract
Dry Ingredients
- 2 cups all-purpose flour
- 1 teaspoon baking powder
- 1/2 teaspoon baking soda
- 1/2 teaspoon salt
Add-Ins and Toppings
- 1 cup crushed pretzels (plus extra for topping)
- 1 cup caramel sauce (store-bought or homemade)
- Flaky sea salt for finishing
Instructions
- Preheat the Oven: Preheat your oven to 350°F (175°C). Prepare a 9×13 inch baking pan by greasing it or lining it with parchment paper for easy removal.
- Mix Wet Ingredients: In a large mixing bowl, combine the melted butter with the brown sugar and granulated sugar. Whisk until the mixture is smooth and well blended. Add the eggs one at a time, mixing thoroughly after each addition. Finally, stir in the vanilla extract to enhance the flavor.
- Combine Dry Ingredients: In a separate bowl, whisk together the all-purpose flour, baking powder, baking soda, and salt to ensure even distribution of leavening agents and seasonings.
- Combine Wet & Dry: Gradually add the dry ingredients to the wet mixture, stirring gently until just combined to avoid overmixing which can toughen the texture.
- Incorporate Pretzels: Fold the crushed pretzels gently into the batter so that they’re evenly spread throughout, providing a crunchy texture in the blondies.
- Add Caramel Sauce: Pour half of the batter evenly into the prepared pan. Drizzle half of the caramel sauce over the batter. Spoon the remaining batter on top and then drizzle with the rest of the caramel sauce. Use a knife to create gentle swirls of caramel throughout the batter for marbling effect.
- Add Toppings: Sprinkle additional crushed pretzels over the top and finish with a generous pinch of flaky sea salt to enhance the sweet and salty combination.
- Bake: Place the baking pan in the preheated oven and bake for 25 to 30 minutes, or until the edges turn golden brown and a toothpick inserted in the center comes out with a few moist crumbs.
- Cool & Serve: Allow the blondies to cool in the pan for about 10 minutes. If using parchment paper, lift the blondies out onto a wire rack and cool completely before cutting into squares.
- Enjoy: Serve the Sweet & Salty Bliss blondies as a dessert or pack them as a sweet snack anytime you crave a delicious treat.
Notes
- For easiest removal, line the baking pan with parchment paper extending over the edges.
- Do not overmix the batter to keep blondies tender and moist.
- You can substitute caramel sauce with homemade caramel for a richer flavor.
- Store blondies in an airtight container at room temperature for up to 3 days or refrigerate to extend freshness.
- Flaky sea salt adds a professional touch and enhances flavor, but can be omitted if unavailable.
Keywords: blondies, caramel blondies, sweet and salty dessert, pretzel blondies, caramel sauce dessert, easy baking recipe