Homemade Maple Donut Bars Recipe
Introduction
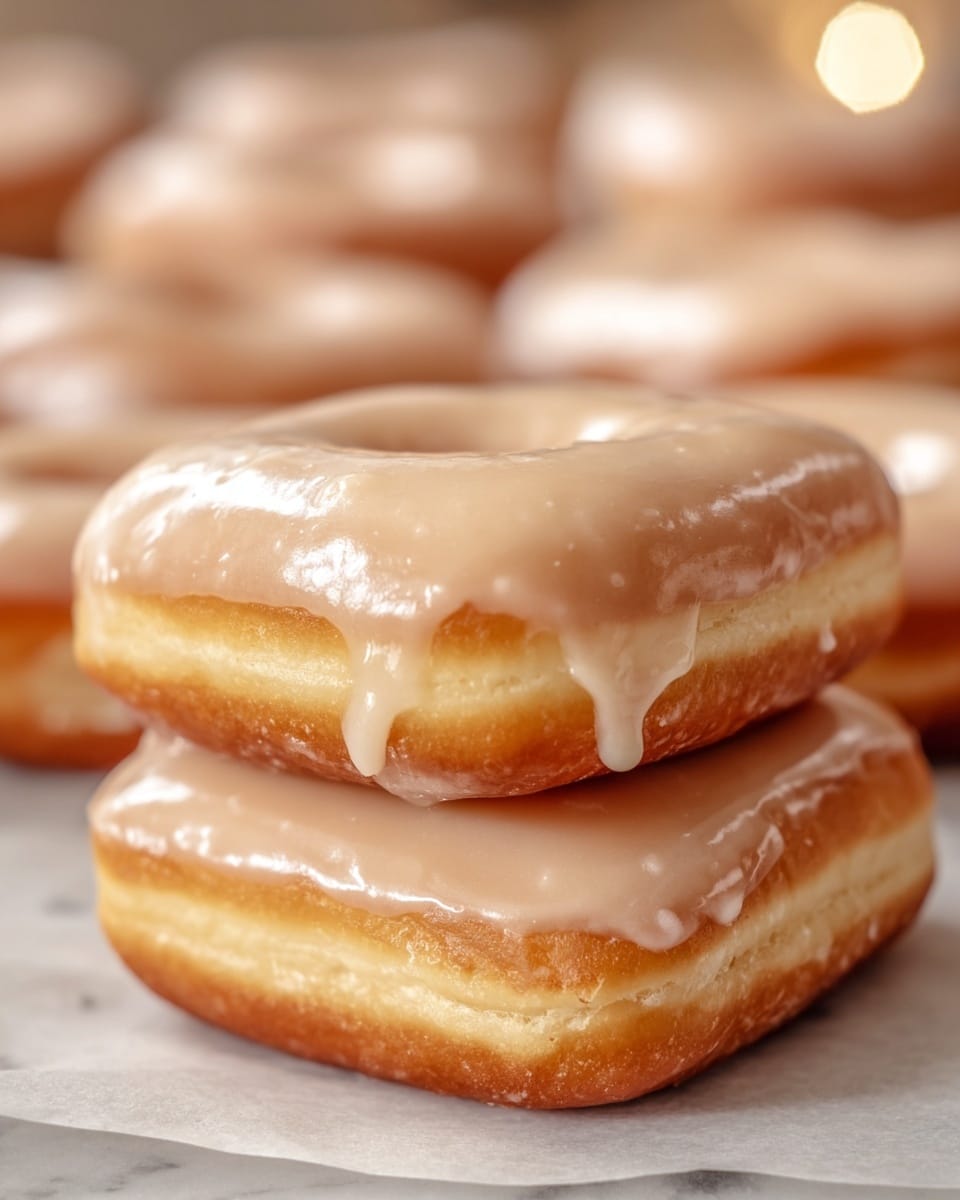
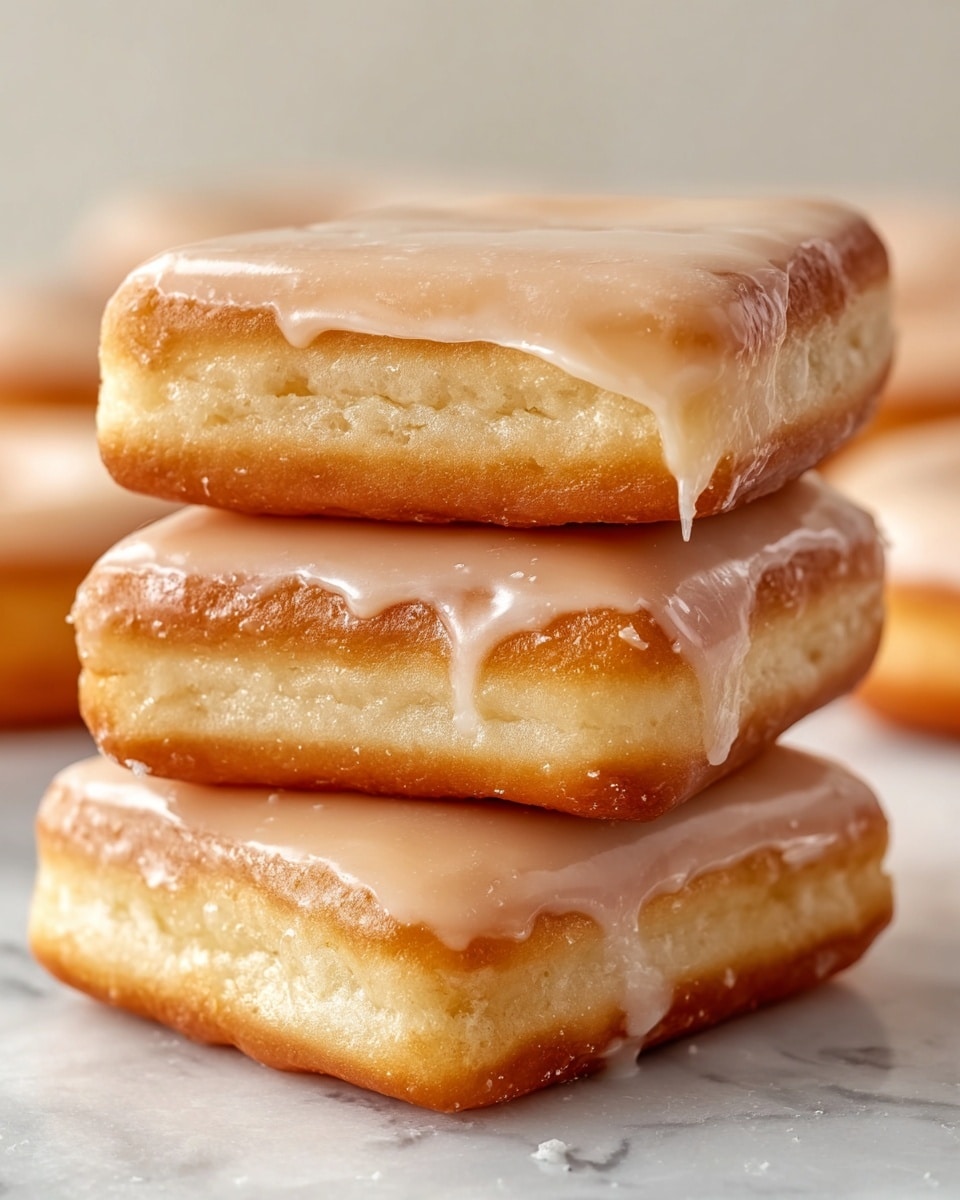
Homemade Maple Donut Bars are a delightful twist on traditional donuts, baked into convenient bar shapes and coated with a luscious maple glaze. These soft, fluffy treats combine a light yeast dough with a rich, sweet finish that’s perfect for breakfast or an indulgent snack.
Ingredients
- 1/2 cup warm water (110°F)
- 3/4 cup warm milk
- 2 tsp dry active yeast
- 1/2 cup + 1 Tbsp granulated sugar
- 1/2 tsp salt
- 5 large eggs
- 1/2 cup unsalted butter (softened)
- 5 1/2 cups all-purpose flour
- 1/4 cup unsalted butter (for glaze)
- 1/2 cup brown sugar
- 3 Tbsp milk (for glaze)
- 1 Tbsp corn syrup
- 2 tsp maple extract
- 2 cups powdered sugar
- Vegetable or corn oil for frying
Instructions
- Step 1: In a small bowl, whisk together warm water, warm milk, 1 tablespoon of sugar, and dry active yeast. Let it sit for 10 minutes until the mixture becomes foamy.
- Step 2: In the bowl of a stand mixer, combine flour, salt, remaining granulated sugar, the frothy yeast mixture, and eggs. Using a dough hook, mix on medium-high speed until dough begins to form.
- Step 3: Add softened butter in portions while continuing to mix. Knead for about 8 minutes until the dough is smooth, elastic, and no longer sticky on the bowl’s sides.
- Step 4: Transfer the dough to a greased bowl, cover, and let it rise in a warm place for about 1 hour, or until doubled in size.
- Step 5: Punch the dough down, reshape it, and let it rise again in the covered bowl until doubled, approximately another hour.
- Step 6: Turn the dough onto a floured surface and roll it into a 15×17-inch rectangle about 3/4 inch thick. Cut into 12 bars with a pizza cutter and place them on a floured baking sheet. Let rise for 30 minutes.
- Step 7: Heat 2 inches of oil to 360–375°F in a heavy-bottomed pot. Fry the donut bars in batches for about 2 minutes per side until golden brown. Drain on paper towels and cool completely.
- Step 8: For the glaze, melt butter in a saucepan over medium heat. Stir in brown sugar, milk, and corn syrup, then simmer briefly.
- Step 9: Remove from heat and mix in maple extract and powdered sugar until smooth.
- Step 10: Dip cooled donut bars into the glaze and set on a cooling rack to allow the glaze to firm up.
Tips & Variations
- Use a candy thermometer to maintain oil temperature for even frying and to prevent greasy donuts.
- Substitute pure maple syrup for maple extract in the glaze for a more natural flavor.
- For a baked alternative, bake the bars at 375°F for 12-15 minutes and then glaze.
- Sprinkle chopped nuts or cinnamon on the glaze before it sets for additional texture and flavor.
Storage
Store the glazed donut bars in an airtight container at room temperature for up to 2 days for best freshness. You can refrigerate them for up to 5 days; let them come to room temperature or warm slightly before serving. Avoid freezing, as the glaze may lose its texture.
How to Serve
Serve this delicious recipe with your favorite sides.
FAQs
Can I make the dough ahead of time?
Yes, you can refrigerate the dough after the first rise for up to 24 hours. Let it come to room temperature before proceeding with the second rise and cutting.
What if I don’t have maple extract?
You can use pure maple syrup or vanilla extract as a substitute, though the flavor will be slightly different. Adjust the amount to taste.
PrintHomemade Maple Donut Bars Recipe
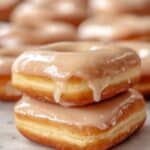
These Homemade Maple Donut Bars are soft, fluffy, and infused with a rich maple-flavored glaze. Perfectly fried to a golden brown, these donut bars combine the classic taste of sweet yeast doughnuts with the comforting flavor of maple for an irresistible treat that is great for breakfast or dessert.
- Prep Time: 30 minutes
- Cook Time: 20 minutes
- Total Time: 3 hours 20 minutes
- Yield: 12 donut bars 1x
- Category: Dessert
- Method: Frying
- Cuisine: American
Ingredients
For the Donuts:
- 1/2 cup warm water (110°F)
- 3/4 cup warm milk
- 2 tsp dry active yeast
- 1/2 cup + 1 Tbsp granulated sugar
- 1/2 tsp salt
- 5 large eggs
- 1/2 cup unsalted butter (softened)
- 5 1/2 cups all-purpose flour
For the Maple Glaze:
- 1/4 cup unsalted butter
- 1/2 cup brown sugar
- 3 Tbsp milk
- 1 Tbsp corn syrup
- 2 tsp maple extract
- 2 cups powdered sugar
Instructions
- Froth the Yeast: In a small bowl, combine the warm water, warm milk, 1 tablespoon of granulated sugar, and dry active yeast. Whisk gently and let sit for 10 minutes until the mixture is foamy, indicating that the yeast is active.
- Mix the Dough: In the bowl of a stand mixer, add the all-purpose flour, salt, the remaining granulated sugar, the frothy yeast mixture, and eggs. Mix on medium-high speed with the dough hook. As the dough begins to form, add the softened unsalted butter and continue mixing for about 8 minutes until the dough is smooth, elastic, and no longer sticks to the sides of the bowl.
- Let the Dough Rise: Transfer the dough to a greased bowl, cover with a kitchen towel or plastic wrap, and let it rise in a warm place for about 1 hour, or until it has doubled in size. Using the oven’s proof setting can speed up this step.
- Punch Down and Proof Again: After the first rise, punch down the dough to release air. Reshape it into a ball and let it rise again in the covered bowl until it doubles in size once more, about another hour.
- Roll, Cut, and Proof Again: Turn the dough onto a floured surface and roll it out into a 3/4-inch thick rectangle (about 15×17 inches). Using a pizza cutter, cut the dough into 12 rectangular donut bars. Place them on a floured baking sheet and let them rise for another 30 minutes.
- Fry the Donuts: Heat 2 inches of corn or vegetable oil in a heavy-bottomed pot to 360–375°F. Fry the donut bars in batches for about 2 minutes per side or until golden brown. Remove and transfer to a paper towel-lined baking sheet to drain excess oil. Let cool completely.
- Make the Maple Glaze: In a saucepan, melt the unsalted butter over medium heat. Add brown sugar, milk, and corn syrup and simmer gently. Remove from heat and stir in maple extract and powdered sugar until the glaze is smooth and well combined.
- Glaze the Donuts: Dip the cooled donut bars into the maple glaze, ensuring they are evenly coated. Place them on a cooling rack to allow the glaze to set before serving.
Notes
- Ensure the water and milk are warm but not hot to avoid killing the yeast.
- Frying temperature is crucial: too low and donuts will absorb too much oil; too high and they may burn.
- You can store leftover glazed donut bars in an airtight container for up to 2 days.
- Use a candy or deep-fry thermometer to monitor oil temperature accurately.
- For best texture, allow the donuts to cool fully before glazing to prevent the glaze from melting off.
Keywords: maple donut bars, homemade donuts, fried donuts, maple glaze, yeast donut recipe