Instant Pot Breakfast Enchiladas Recipe
Introduction
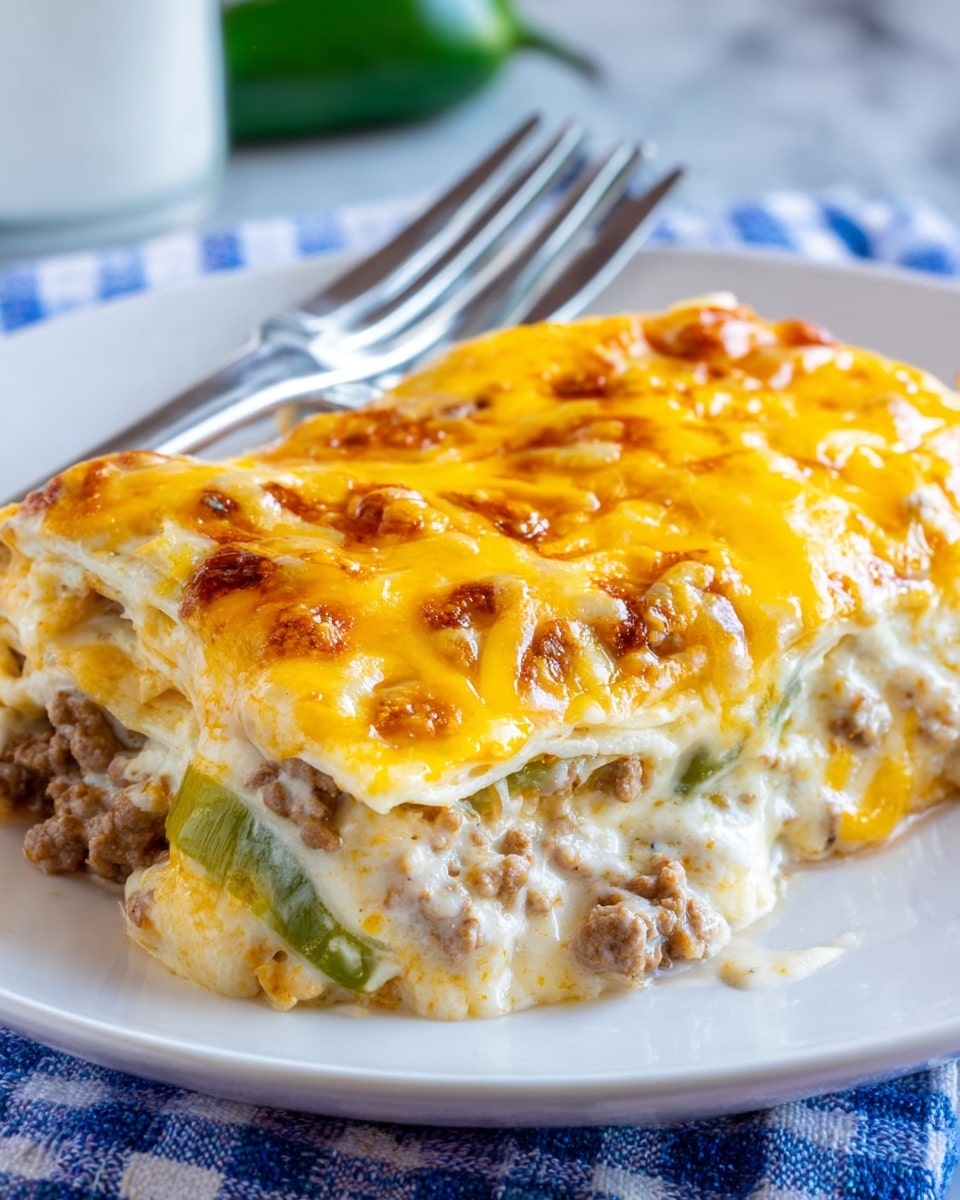
Start your day with a comforting and flavorful twist on breakfast with these Instant Pot Breakfast Enchiladas. Packed with sausage, fluffy eggs, and a creamy cheese gravy, this dish brings a hearty start to any morning.

Ingredients
- 1 pound ground breakfast sausage
- 1/2 cup chicken broth
- 8 eggs
- 2 Tbsp milk
- Salt and pepper, to taste
- 1/2 cup flour
- 2 1/2 cups milk
- 1/2 tsp salt
- 1/2 tsp pepper
- 1 1/2 cups shredded pepper jack cheese
- 1 1/2 cups shredded cheddar cheese
- 8 (8 inch) flour tortillas
Instructions
- Step 1: Add the uncooked sausage into the Instant Pot and break up the meat. Pour in the chicken broth.
- Step 2: Spray a pan that fits inside your Instant Pot with non-stick cooking spray. Break the eggs into the pan and whisk well with 2 tablespoons of milk. Season with salt and pepper to taste.
- Step 3: Place a tall trivet into the Instant Pot. Set the egg pan on top of the trivet.
- Step 4: Cover the Instant Pot and secure the lid, ensuring the valve is set to sealing. Use the manual/pressure cook setting for 5 minutes. When the time is up, carefully move the valve to venting and remove the lid.
- Step 5: Using hot pads, remove the egg pan from the Instant Pot. Break up the cooked eggs and set aside.
- Step 6: In a large glass measuring cup, whisk the flour into the 2 1/2 cups of milk a little at a time until smooth.
- Step 7: Turn the Instant Pot to sauté setting and pour the milk mixture into the pot. Stir continuously until the gravy thickens and becomes bubbly. Stir in 1/2 teaspoon salt and 1/2 teaspoon pepper, then turn off the Instant Pot.
- Step 8: Preheat your oven to 350°F (175°C). Spread 1/4 cup of the gravy on the bottom of a 9×13 inch baking dish.
- Step 9: To assemble the enchiladas, lay a tortilla flat, spoon 1/8 of the scrambled eggs onto it, add a couple tablespoons of gravy, and sprinkle about 2 tablespoons each of pepper jack and cheddar cheeses. Roll up the tortilla and place it seam side down in the baking dish. Repeat with remaining tortillas.
- Step 10: Pour the remaining gravy over the assembled enchiladas and sprinkle any leftover cheese on top.
- Step 11: Bake for 25 minutes until hot and bubbly. Serve immediately and enjoy!
Tips & Variations
- Use spicy sausage or add diced green chilies for an extra kick of flavor.
- For a lighter option, substitute half-and-half for whole milk in the gravy.
- Add sautéed onions or bell peppers to the eggs for added texture and taste.
- Make ahead by assembling the enchiladas the night before and refrigerate; bake just before serving.
Storage
Store leftover enchiladas in an airtight container in the refrigerator for up to 3 days. To reheat, cover with foil and bake at 350°F until warmed through, about 15-20 minutes. Alternatively, microwave individual portions until hot.
How to Serve

Serve this delicious recipe with your favorite sides.
FAQs
Can I use corn tortillas instead of flour?
Yes, corn tortillas can be used, but they may be less pliable and more prone to tearing. To prevent this, warm them slightly before assembling.
Is it necessary to cook the sausage in the Instant Pot before making the eggs?
Cooking the sausage in the Instant Pot with broth helps infuse flavor and ensures the sausage is cooked thoroughly along with the eggs, making for a convenient one-pot prep.
PrintInstant Pot Breakfast Enchiladas Recipe
Delicious Instant Pot Breakfast Enchiladas combine savory sausage, fluffy pressure-cooked eggs, a creamy homemade gravy, and melted cheeses wrapped in flour tortillas and baked to perfection. This hearty breakfast casserole is perfect for a family brunch or weekend breakfast and utilizes both the Instant Pot and oven for a satisfying meal.
- Prep Time: 15 minutes
- Cook Time: 35 minutes
- Total Time: 50 minutes
- Yield: 8 enchiladas (serves 6-8) 1x
- Category: Breakfast
- Method: Instant Pot
- Cuisine: American
Ingredients
Sausage and Broth
- 1 pound ground breakfast sausage
- 1/2 cup chicken broth
Egg Mixture
- 8 eggs
- 2 Tbsp milk
- Salt and pepper, to taste
Gravy
- 1/2 cup all-purpose flour
- 2 1/2 cups milk
- 1/2 tsp salt
- 1/2 tsp pepper
Cheese
- 1 1/2 cups shredded pepper jack cheese
- 1 1/2 cups shredded cheddar cheese
Tortillas
- 8 (8 inch) flour tortillas
Instructions
- Cook Sausage: Add the uncooked ground breakfast sausage into the Instant Pot and break it up into small pieces. Pour in the chicken broth to add moisture and flavor.
- Whisk Eggs: Spray a pan that fits inside the Instant Pot with non-stick cooking spray. Crack the eggs into the pan and whisk them well. Whisk in the milk and season with salt and pepper to taste.
- Pressure Cook Eggs: Place a tall trivet into the Instant Pot and set the egg pan on top of it. Secure the lid on the Instant Pot with the valve set to sealing. Set the manual/pressure cook mode to 5 minutes.
- Release Pressure and Remove Eggs: When cooking is complete, switch the valve to venting to release pressure and open the lid. Using hot pads, carefully remove the egg pan, then break up the cooked eggs into smaller pieces and set aside.
- Make Gravy: In a large glass measuring cup, whisk the flour gradually into the milk until smooth and lump-free. Turn the Instant Pot to the sauté setting and pour the milk-flour mixture into the pot. Stir continuously until the gravy thickens and bubbles. Season with 1/2 tsp salt and 1/2 tsp pepper, then turn off the Instant Pot.
- Prepare Baking Dish: Preheat your oven to 350°F (175°C). Spoon about 1/4 cup of the prepared gravy and spread it evenly on the bottom of a 9×13 inch baking pan.
- Assemble Enchiladas: Lay one tortilla flat and spoon approximately 1/8 of the cooked eggs onto it. Add a couple tablespoons of gravy and about 2 tablespoons each of shredded pepper jack and cheddar cheese. Roll up the tortilla tightly and place it seam-side down in the baking pan. Repeat with the remaining tortillas and filling.
- Add Toppings and Bake: Pour any remaining gravy evenly over the filled tortillas and sprinkle the remaining cheese on top. Bake the enchiladas in the preheated oven for 25 minutes until bubbly and golden.
- Serve: Remove from the oven and serve hot for a comforting and flavorful breakfast delight.
Notes
- Ensure the pan used for steaming eggs fits inside your Instant Pot safely.
- Use non-stick spray to prevent eggs from sticking to the pan.
- Adjust seasoning in the eggs and gravy according to your taste preferences.
- For spicier enchiladas, add diced jalapeños or hot sauce to the eggs or gravy.
- Leftovers keep well refrigerated for 2-3 days and can be reheated in the oven or microwave.
Keywords: Instant Pot breakfast enchiladas, breakfast casserole, sausage enchiladas, pressure cooker eggs, breakfast recipe


