Tagalong Cookies Recipe
Introduction
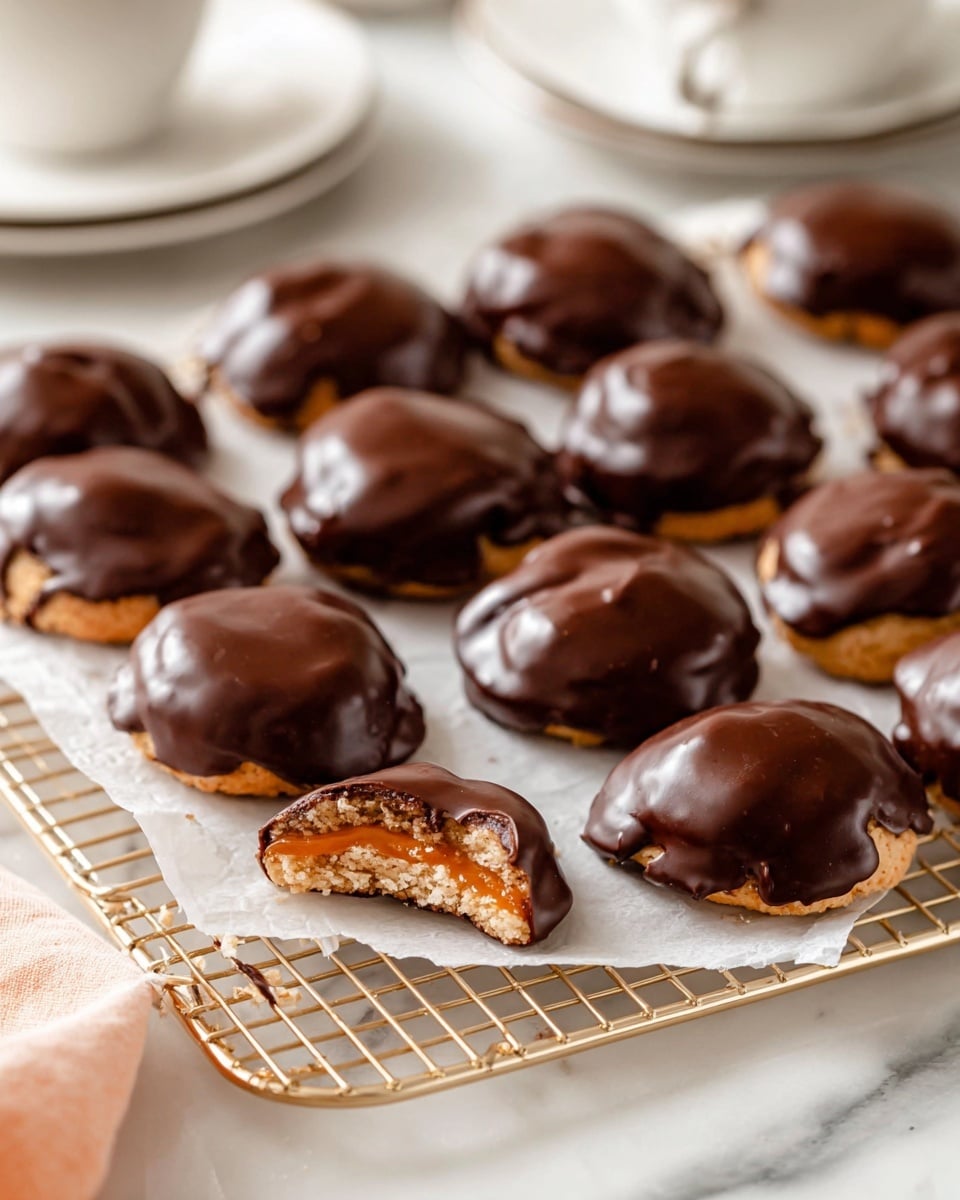
Tagalong Cookies are a delicious treat combining a buttery shortbread base, creamy peanut butter filling, and a smooth chocolate coating. Perfect for cookie lovers who enjoy a sweet and nutty bite in every mouthful.

Ingredients
- 1 cup (2 sticks) unsalted butter, room temperature
- 1/2 cup granulated sugar
- 2 cups all-purpose flour
- 1/4 teaspoon baking powder
- 1/2 teaspoon salt
- 1/2 teaspoon vanilla extract
- 2 tablespoons whole milk
- 1 1/2 cups creamy peanut butter
- 3/4 cup powdered sugar
- 1/2 teaspoon salt
- 1/2 teaspoon vanilla extract
- 8 oz semi-sweet chocolate chips
- 1 tablespoon coconut oil (or butter, or vegetable oil)
Instructions
- Step 1: Preheat your oven to 350°F (175°C) and line a baking sheet with parchment paper or a silicone baking mat.
- Step 2: In a large bowl, use a hand mixer to cream together the butter and granulated sugar. Add the flour, baking powder, and salt gradually on low speed. Then mix in the vanilla extract and milk until the dough forms a soft ball.
- Step 3: Scoop out about one tablespoon of dough, flatten it into a 1/4-inch thick disc with your hands, and place on the prepared baking sheet. Repeat for all dough. Arrange cookies close together as they will not spread much.
- Step 4: Bake for 10 to 12 minutes until the edges and bottoms are lightly browned and cookies feel set. Right after removing from the oven, gently press your thumb or a small spoon into the center of each cookie to create a depression. Let them cool on the sheet for a few minutes before transferring to a wire rack.
- Step 5: For the peanut butter filling, combine peanut butter, powdered sugar, salt, and vanilla in a microwave-safe bowl. Heat in 30-second intervals, stirring frequently, until smooth but not runny.
- Step 6: Transfer the warm filling to a pastry bag or a plastic bag with the tip cut off. Pipe a generous dollop of filling into each cookie’s indentation.
- Step 7: Chill the filled cookies in the refrigerator for 20 to 30 minutes until the filling firms up.
- Step 8: Melt the chocolate chips with the coconut oil in 30-second bursts in the microwave, stirring often, until completely smooth.
- Step 9: Dip each chilled cookie into the melted chocolate, letting excess drip off. Set them on parchment paper to harden.
Tips & Variations
- If you prefer a crunchier cookie, substitute half the all-purpose flour with oat flour.
- Use crunchy peanut butter for added texture inside the filling.
- For a dairy-free version, use margarine instead of butter and a non-dairy milk alternative.
- Replace the semi-sweet chocolate with dark or milk chocolate according to your preference.
Storage
Store the cookies in an airtight container in the refrigerator for up to one week to keep the peanut butter filling firm. For longer storage, freeze them for up to three months and thaw in the fridge before serving. To soften the chocolate slightly, let cookies sit at room temperature for 10 minutes after taking them out of the fridge.
How to Serve
Serve this delicious recipe with your favorite sides.
FAQs
Can I make the dough ahead of time?
Yes, you can prepare the dough and refrigerate it for up to 24 hours before baking. Let it come to room temperature slightly before shaping if it gets too firm.
What can I use if I don’t have a pastry bag?
A small resealable plastic bag with a corner snipped off works perfectly for piping the peanut butter filling into the cookies.
PrintTagalong Cookies Recipe

These classic Tagalong Cookies combine a buttery shortbread base with a creamy peanut butter filling and a rich chocolate coating. Inspired by the popular Girl Scout cookie, this homemade version is perfect for peanut butter and chocolate lovers seeking a delicious, melt-in-your-mouth treat.
- Prep Time: 20 minutes
- Cook Time: 12 minutes
- Total Time: 1 hour 15 minutes
- Yield: Approximately 24 cookies 1x
- Category: Dessert
- Method: Baking
- Cuisine: American
Ingredients
Cookie Dough
- 1 cup (2 sticks) unsalted butter, room temperature
- 1/2 cup granulated sugar
- 2 cups all-purpose flour
- 1/4 teaspoon baking powder
- 1/2 teaspoon salt
- 1/2 teaspoon vanilla extract
- 2 tablespoons whole milk
Peanut Butter Filling
- 1 1/2 cups creamy peanut butter
- 3/4 cup powdered sugar
- 1/2 teaspoon salt
- 1/2 teaspoon vanilla extract
Chocolate Coating
- 8 oz semi-sweet chocolate chips
- 1 tablespoon coconut oil (or butter, or vegetable oil)
Instructions
- Preheat and Prepare: Preheat your oven to 350°F (175°C). Line a baking sheet with parchment paper or silicone baking mats to prevent cookies from sticking.
- Make the Dough: In a large mixing bowl, use a hand mixer to cream together the unsalted butter and granulated sugar until smooth and fluffy. Gradually mix in the all-purpose flour, baking powder, and salt on low speed. Add the vanilla extract and whole milk to bring the dough together into a soft ball.
- Shape the Cookies: Scoop out tablespoon-sized portions of dough using a small cookie scoop. Flatten each ball by hand into a disc about 1/4-inch thick. Place the discs on the prepared baking sheet, spacing them closely as they won’t spread much during baking.
- Bake the Cookies: Bake the shaped cookies for 10 to 12 minutes until the edges and bottoms are lightly browned and the cookies are set. Right after removing from the oven, use your thumb or a small spoon to make a depression in the center of each cookie for the peanut butter filling.
- Cool the Cookies: Allow the cookies to cool on the baking sheet for a few minutes, then transfer to a wire rack to cool completely before adding filling.
- Prepare Peanut Butter Filling: In a microwave-safe bowl, combine the creamy peanut butter, powdered sugar, salt, and vanilla extract. Microwave in 30-second intervals, stirring frequently until smooth and soft. Avoid overheating to prevent the mixture from becoming too runny.
- Fill Cookies: Transfer the peanut butter filling to a pastry bag or a plastic bag with the tip cut off. Pipe a generous dome of filling into the depression of each cooled cookie.
- Chill Filled Cookies: Place the filled cookies in the refrigerator for 20 to 30 minutes to allow the peanut butter filling to firm up.
- Melt Chocolate Coating: Combine the semi-sweet chocolate chips and coconut oil in a microwave-safe bowl. Heat in 30-second intervals, stirring often until smooth and fully melted.
- Dip Cookies in Chocolate: Dip each chilled cookie into the melted chocolate, allowing excess chocolate to drip off. Place the coated cookies on parchment paper and let them set until the chocolate hardens.
Notes
- Using room temperature butter helps to cream the dough effectively for a tender cookie base.
- Be careful not to overheat the peanut butter filling in the microwave as it can become too runny, making it hard to pipe.
- Coconut oil in the chocolate coating helps the chocolate set with a nice sheen.
- Store finished cookies in an airtight container in the refrigerator for up to one week for best freshness.
- For a nut-allergy-friendly version, consider substituting the peanut butter with sunflower seed butter and use allergy-safe chocolate.
Keywords: Tagalong Cookies, peanut butter cookies, chocolate peanut butter cookies, Girl Scout cookies, homemade cookies, dessert, holiday cookies