Homemade Gluten-Free Vegan Pie Crust Recipe
Introduction
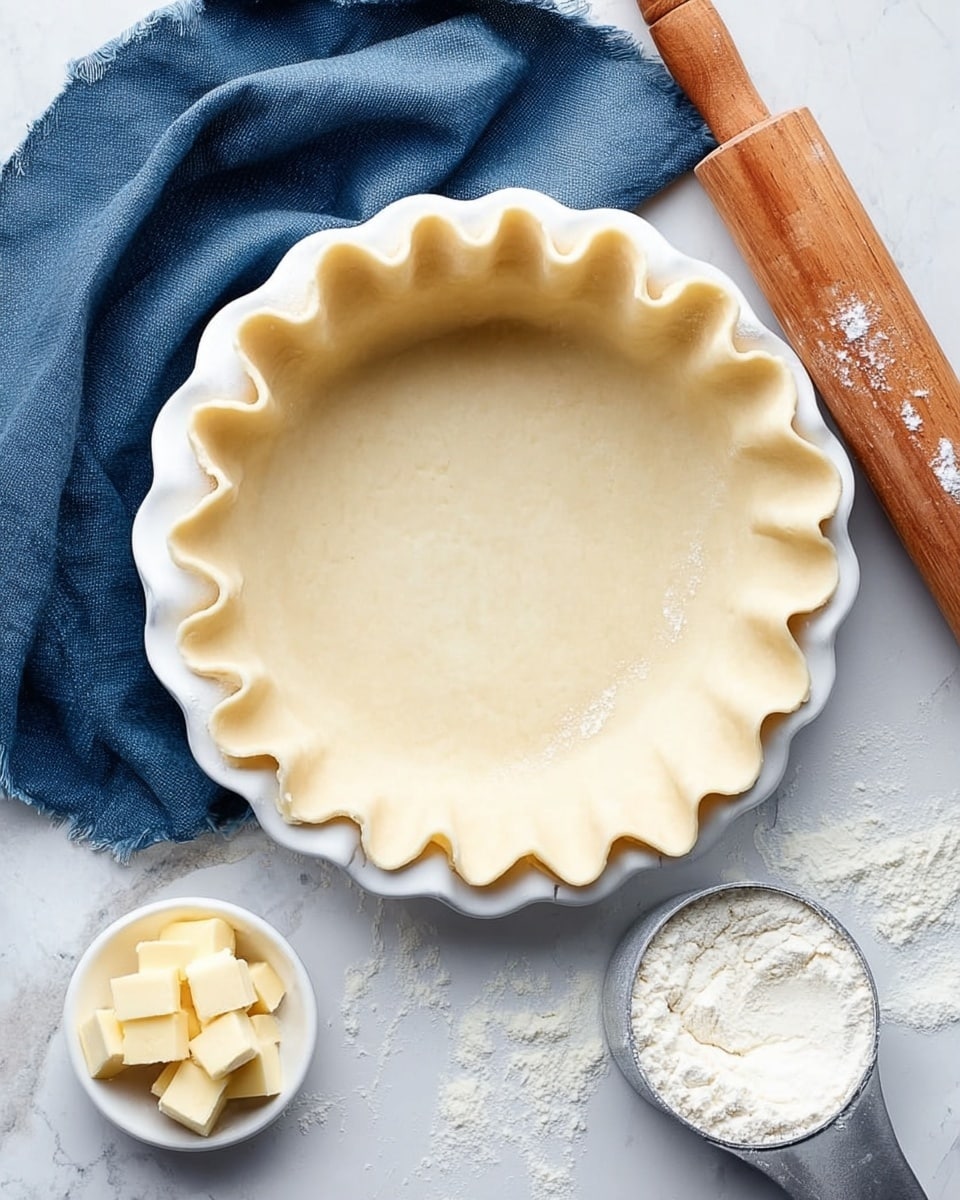
Making a homemade pie crust can seem intimidating, but this simple recipe delivers a tender, flaky crust every time. Using a gluten-free flour blend and cold butter, it’s easy to create a versatile base for both sweet and savory pies.
Ingredients
- 1 cup gluten-free 1-to-1 flour blend
- 6 tablespoons cold butter, cubed
- ¼ cup cold water
- 1 tablespoon sugar (optional)
- Pinch of salt (optional)
Instructions
- Step 1: Preheat your oven to 375°F (190°C).
- Step 2: In a large food processor, combine the flour, cold cubed butter, sugar, and salt. Pulse 20-25 times until the mixture resembles coarse crumbs.
- Step 3: Pour in the cold water and pulse just until the dough sticks together and forms a ball.
- Step 4: Shape the dough into a round disc, place it between two sheets of wax paper, and refrigerate for 20-30 minutes or overnight.
- Step 5: Keeping the dough between the wax paper, roll it out into an 11- to 12-inch circle.
- Step 6: Remove the top sheet of wax paper and carefully invert the dough into a 9-inch pie dish lightly sprayed with non-stick cooking spray. Press gently to fit the dish.
- Step 7: Crimp the edges by forming a V shape with your thumb and finger on one hand, then pressing the dough with your other thumb.
- Step 8: Poke holes evenly in the bottom of the crust with a fork to prevent bubbling.
- Step 9 (Par-bake): For a partially baked crust, bake for 10-15 minutes until the bottom starts to dry out. Perfect for fillings that require further baking.
- Step 10 (Fully bake): For a fully baked crust, line the dough with parchment paper or foil and fill with dried beans or pie weights. Bake for 20 minutes, remove the weights, and bake an additional 15-20 minutes until golden and crisp.
Tips & Variations
- Use cold butter and water to keep the dough flaky and tender.
- For extra flavor, substitute half the water for cold milk or add a teaspoon of vanilla for sweet pies.
- If you don’t have a food processor, you can cut the butter into the flour using a pastry cutter or fork.
- Try adding herbs or spices to the crust for savory pies.
Storage
Unbaked pie crust dough can be wrapped tightly in plastic wrap and refrigerated for up to 2 days or frozen for up to 1 month. Bake from frozen by adding a few extra minutes to the baking time. Fully baked crusts should be stored in an airtight container at room temperature for 2-3 days or frozen for longer storage. Reheat in a low oven to restore crispness.
How to Serve
Serve this delicious recipe with your favorite sides.
FAQs
Can I make this pie crust without a food processor?
Yes, you can use a pastry cutter, two forks, or your fingers to cut the cold butter into the flour until the mixture resembles coarse crumbs. Then mix in the water to form the dough as usual.
How do I prevent the pie crust edges from burning?
To protect the edges, cover them with aluminum foil or a pie crust shield during baking. Remove the cover during the last 5-10 minutes to allow the edges to brown evenly.
PrintHomemade Gluten-Free Vegan Pie Crust Recipe

This easy homemade gluten-free pie crust recipe is perfect for both baked and no-bake pies. Made with a simple combination of gluten-free flour, cold butter, water, and optional sugar and salt, it yields a tender, flaky crust. The crust can be partially baked (blind baked) to prepare for fillings that require baking, or fully baked for pies that are filled after baking. This versatile crust is great for making delicious vegan and gluten-free pies with ease.
- Prep Time: 15 minutes
- Cook Time: 35 minutes (including blind baking and full baking)
- Total Time: 50 minutes (not including optional chilling overnight)
- Yield: One 9-inch pie crust 1x
- Category: Baking
- Method: Baking
- Cuisine: American
- Diet: Gluten Free
Ingredients
Pie Crust Ingredients
- 1 cup gluten-free flour 1-to-1 blend
- 6 Tbsp. butter, cold and cubed
- ¼ cup cold water
- 1 Tbsp. sugar (optional)
- Pinch of salt (optional)
Instructions
- Preheat Oven: Begin by preheating your oven to 375°F (190°C) to ensure it’s ready for baking the pie crust.
- Combine Dry Ingredients and Butter: In the bowl of a large food processor, add the gluten-free flour, cubed cold butter, optional sugar, and salt. Pulse 20-25 times until the mixture resembles coarse crumbs, which is key to achieving a flaky texture.
- Add Water and Form Dough: Pour in the cold water and pulse the mixture until it just comes together to form a ball of dough, being careful not to overwork it.
- Chill Dough: Shape the dough into a round disc, place it between two sheets of wax paper, and refrigerate for 20-30 minutes or overnight. Chilling helps the dough to relax and maintain its structure.
- Roll Out Dough: Keeping the dough between the wax paper sheets, roll it out into a circle measuring 11 to 12 inches in diameter, suitable for a 9-inch pie plate.
- Transfer to Pie Plate: Remove the top wax paper, then carefully flip the dough into a lightly sprayed 9-inch ceramic or glass pie dish. Press the dough gently so it completely covers the pie plate.
- Crimp the Edges: Using your thumb and pointer fingers, form a V shape with one hand and press the dough edge with the thumb of the other hand to crimp the crust edges, creating an attractive finish.
- Dock the Dough: Poke holes evenly around the bottom of the pie crust with a fork to allow steam to escape and prevent bubbling during baking.
- Partial (Blind) Bake: For pies requiring a baked crust before filling, bake the crust in the 375°F oven for 10-15 minutes or until the bottom looks dry, then allow to cool before adding filling.
- Full Bake with Weights: For a fully baked crust, line the crust with parchment paper or aluminum foil and fill with dried beans or pie weights. Bake at 375°F for 20 minutes, remove weights, and bake for an additional 15-20 minutes until golden and cooked through.
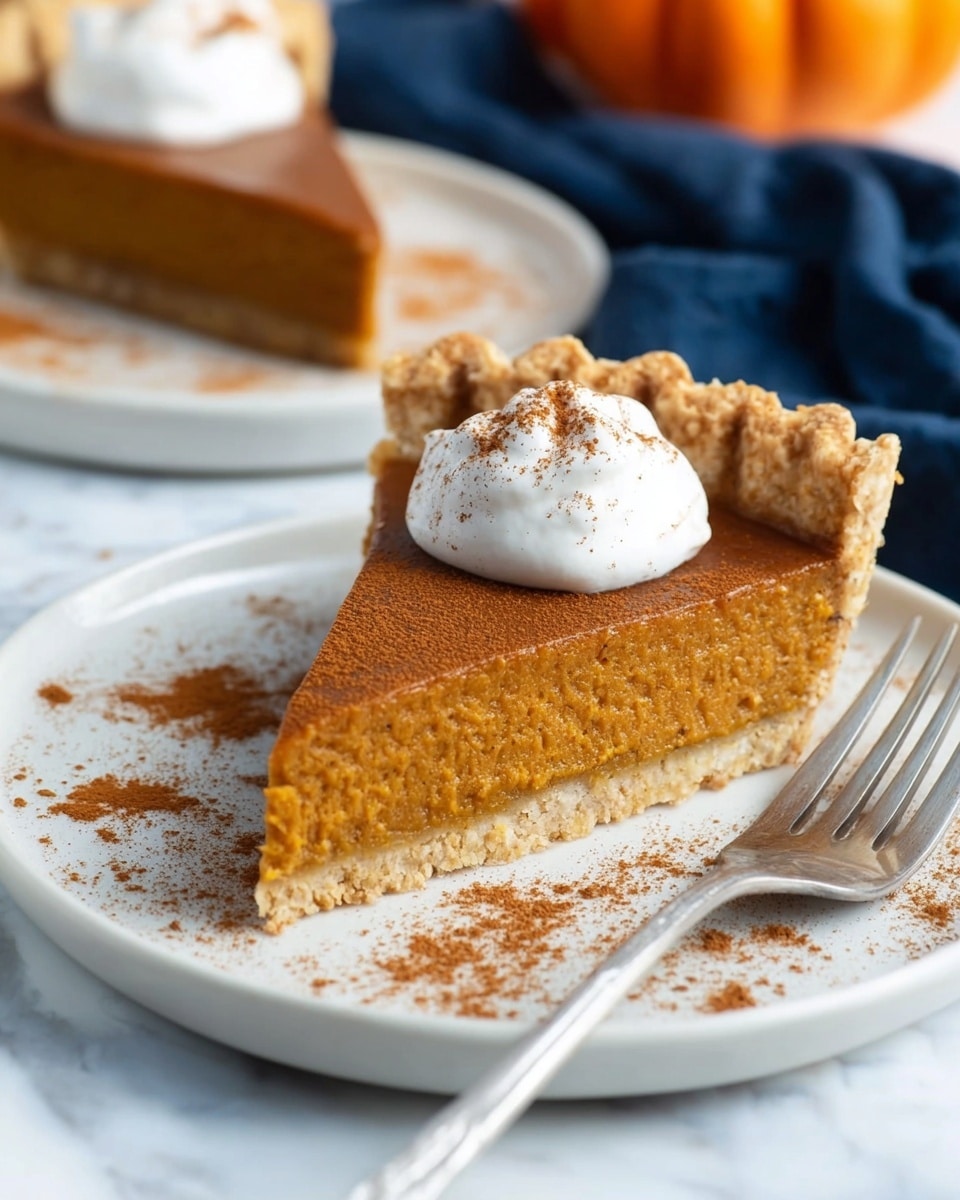
- Use in Recipes: Once baked as needed, use this crust in your favorite pie recipes, including no-bake fillings or pumpkin pie.
Notes
- Use cold butter to create a flaky texture in the pie crust.
- Chilling the dough is important to prevent shrinking during baking.
- Gluten-free flour 1-to-1 blend is recommended for best texture and ease of use.
- Blind baking with weights prevents the crust from puffing up.
- Optional sugar adds slight sweetness to the crust but can be omitted for savory pies.
- Butter can be substituted with a vegan butter alternative for a vegan-friendly crust.
Keywords: gluten-free pie crust, vegan pie crust, homemade pie crust, blind baked pie crust, easy pie crust