Black Forest Cheesecake Recipe
Introduction
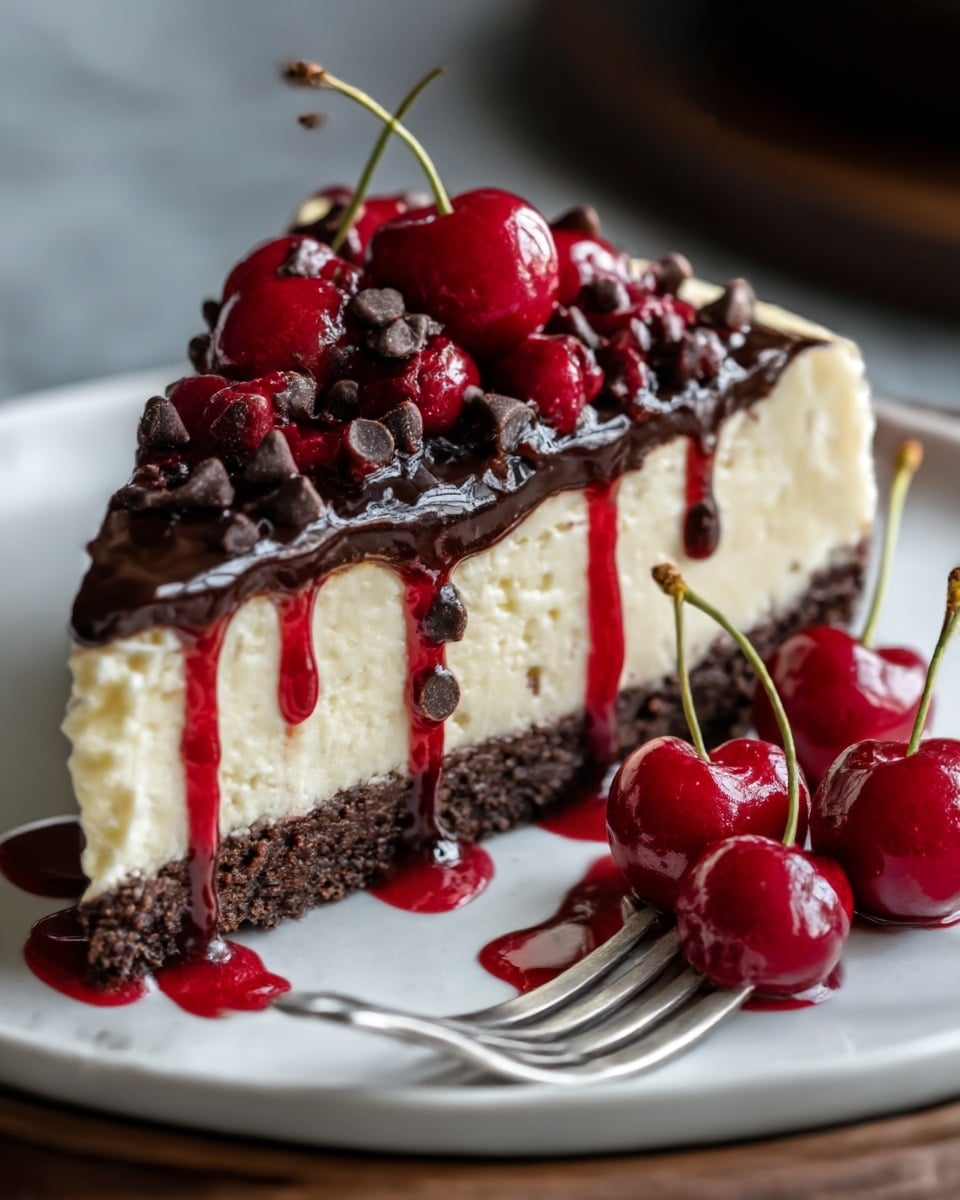
If you’re a fan of decadent desserts, then the Black Forest Cheesecake is a must-try! This rich and creamy treat combines the delightful flavors of chocolate, cherries, and cream cheese in a way that will leave your taste buds dancing.
Ingredients
- 24 oz full-fat cream cheese
- 1 cup granulated sugar
- 3 large eggs
- 1 cup sour cream
- ½ cup unsweetened cocoa powder
- 21 oz cherry pie filling
- 1 cup heavy whipping cream (for topping)
- Chocolate shavings for garnish
Instructions
- Step 1: Preheat the oven to 325°F (160°C) and prepare a greased springform pan lined with parchment paper.
- Step 2: For the cake base, mix flour, cocoa powder, baking powder, and salt in a bowl. In another bowl, combine melted butter, sugar, and eggs until fluffy. Fold the dry ingredients into the wet mixture and pour into the pan. Bake for 25-30 minutes.
- Step 3: Prepare the filling by blending cream cheese and sugar until smooth. Add eggs one at a time, then mix in sour cream and cocoa powder. Pour this mixture over the cooled cake base.
- Step 4: Bake the cheesecake in a water bath for 50-60 minutes until the center is slightly jiggly.
- Step 5: Allow the cheesecake to cool completely, then refrigerate overnight. Serve topped with cherry pie filling, whipped cream, and chocolate shavings.
Tips & Variations
- Use room temperature cream cheese for a smoother filling texture.
- Swap cherry pie filling with fresh cherries macerated in sugar and a splash of cherry liqueur for a fresher taste.
- For a richer topping, whip the heavy cream with a teaspoon of powdered sugar before spreading.
Storage
Store the cheesecake covered in the refrigerator for up to 4 days. To reheat, let it sit at room temperature for about 30 minutes before serving to soften the texture. Avoid microwaving as it can cause the cheesecake to crack.
How to Serve
Serve this delicious recipe with your favorite sides.
FAQs
Can I use low-fat cream cheese for this recipe?
While possible, full-fat cream cheese provides the best texture and flavor. Low-fat versions may result in a less creamy and slightly grainy cheesecake.
What is the purpose of baking the cheesecake in a water bath?
The water bath helps maintain even and gentle heat, preventing cracks and ensuring a smooth, creamy texture in your cheesecake.
PrintBlack Forest Cheesecake Recipe
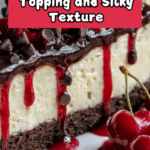
The Black Forest Cheesecake is a rich and indulgent dessert combining a moist chocolate cake base with a creamy cocoa-infused cheesecake layer, topped with sweet cherry pie filling, whipped cream, and chocolate shavings. This decadent treat brings together the classic flavors of Black Forest cake in a smooth cheesecake form, making it perfect for special occasions or when you want a luxurious dessert experience.
- Prep Time: 30 minutes
- Cook Time: 1 hour 30 minutes
- Total Time: 11 hours (including chilling time)
- Yield: 12 servings 1x
- Category: Dessert
- Method: Baking
- Cuisine: American
Ingredients
Cake Base
- 1 cup all-purpose flour
- ½ cup unsweetened cocoa powder
- 1 tsp baking powder
- ¼ tsp salt
- ½ cup melted butter
- 1 cup granulated sugar
- 2 large eggs
Cheesecake Filling
- 24 oz full-fat cream cheese, softened
- 1 cup granulated sugar
- 3 large eggs
- 1 cup sour cream
- ½ cup unsweetened cocoa powder
Topping
- 21 oz cherry pie filling
- 1 cup heavy whipping cream, whipped
- Chocolate shavings, for garnish
Instructions
- Preheat and Prepare Pan: Preheat your oven to 325°F (160°C). Grease a springform pan and line the bottom with parchment paper to prevent sticking and ensure an easy release.
- Make Cake Base: In a medium bowl, whisk together the flour, cocoa powder, baking powder, and salt. In a separate large bowl, beat the melted butter with 1 cup sugar and 2 eggs until the mixture is light and fluffy. Gently fold the dry ingredients into the wet mixture until just combined. Pour this batter into the prepared springform pan and bake for 25 to 30 minutes until set. Remove from the oven and let cool completely.
- Prepare Cheesecake Filling: In a large mixing bowl, blend the softened cream cheese with 1 cup sugar until smooth and creamy using a hand mixer or stand mixer. Add the eggs one at a time, mixing well after each addition. Then fold in the sour cream and ½ cup cocoa powder until fully incorporated and smooth.
- Assemble and Bake Cheesecake: Pour the cream cheese mixture evenly over the cooled chocolate cake base in the springform pan. Place the pan into a larger roasting pan and fill the roasting pan with hot water halfway up the sides of the springform pan to create a water bath. Bake the cheesecake for 50 to 60 minutes until the edges are set but the center still jiggles slightly when shaken gently.
- Cool and Chill: Remove the cheesecake from the oven and water bath. Let it cool completely at room temperature before covering and refrigerating overnight to set fully.
- Add Toppings and Serve: Before serving, spread the cherry pie filling evenly over the top of the cheesecake. Whip the heavy cream until stiff peaks form and dollop or pipe it on top. Garnish with chocolate shavings for a finishing touch. Slice and enjoy your decadent Black Forest Cheesecake!
Notes
- Make sure the cream cheese is softened to room temperature for a smooth filling without lumps.
- Using a water bath helps prevent cracks in the cheesecake and ensures even baking.
- Allow the cheesecake to chill overnight for best texture and flavor development.
- You can substitute cherry pie filling with fresh cherries macerated in sugar if preferred.
- To make the whipped cream sweeter, add 1-2 tablespoons of powdered sugar while whipping.
Keywords: Black Forest Cheesecake, chocolate cheesecake, cherry cheesecake, creamy dessert, baked cheesecake, chocolate cake base, cherry pie topping