Crystal Candy: Colorful Agar Agar Gelatinous Sweet Treat Recipe
Introduction
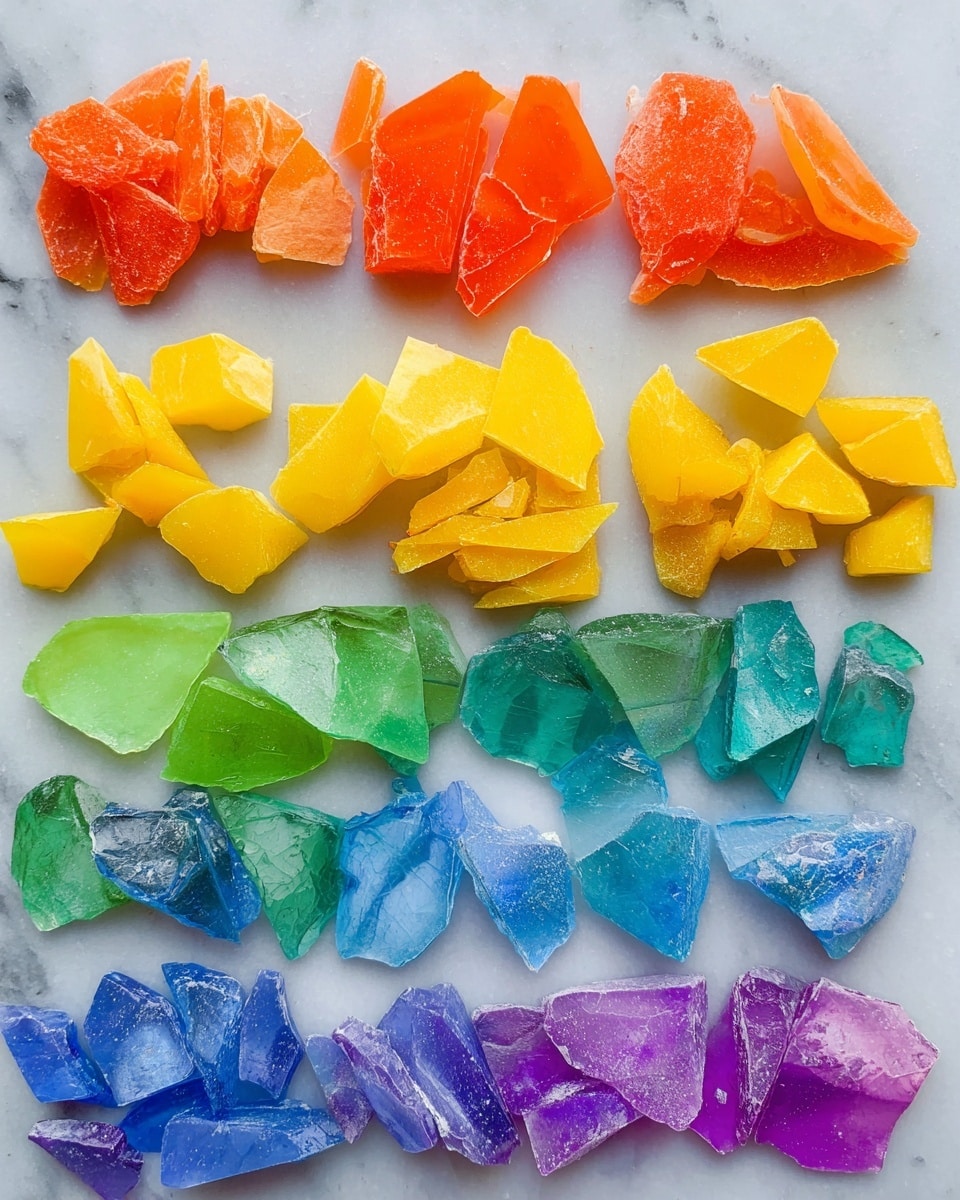
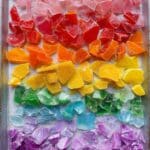
Crystal Candy is a fun and colorful treat that resembles sparkling gems. Made with agar agar and flavored sugar syrup, these candies are firm yet slightly sticky, perfect for playful snacking or special occasions. Customize them with your favorite flavors and colors for a unique homemade delight.
Ingredients
- 1 ⅔ cup water
- 3 teaspoons agar agar powder
- 3 cups granulated sugar
- ¼ teaspoon flavoring of choice
- 1-3 drops liquid food coloring (as desired)
Instructions
- Step 1: Prepare your workspace by lightly greasing small containers or molds for each flavor and color you plan to make. Have your food coloring and flavoring ready, as the candy sets quickly once cooked.
- Step 2: Combine the water and agar agar powder in a small pot. Stir the mixture and let it stand for 5 minutes to hydrate the agar agar.
- Step 3: Bring the pot to a boil and maintain boiling for 3 minutes, stirring occasionally. Add the sugar, stir to dissolve, then reduce heat and simmer for 2-3 minutes more.
- Step 4: Remove the pot from heat and quickly pour the mixture into your prepared containers. Add your chosen flavoring—about ¼ teaspoon total, distributing carefully if using multiple flavors—and a few drops of food coloring to each container.
- Step 5: Use a toothpick or wooden skewer to gently swirl the flavoring and color into the candy mixture for a marbled effect.
- Step 6: Cover the containers and refrigerate for 1-2 hours until the candy firms up but is still slightly sticky to the touch.
- Step 7: Carefully remove the candy from the containers onto a cutting board using a knife. Cut into shapes of your choice with a paring knife, trimming edges to create crystal-like facets. Save any scraps to combine into clusters or re-shape.
- Step 8: Arrange the cut pieces on parchment-lined baking sheets in a single layer.
- Step 9: Store the candy in a cool, dry place for 5-7 days, turning pieces occasionally to allow a crust to form. Covering the candy will slow this process.
- Step 10: Once fully crusted, optionally decorate with edible gold luster dust or gold leaf for a dazzling finish.
Tips & Variations
- To avoid overpowering flavors, use just a few drops of flavoring per batch when making multiple colors or flavors.
- Experiment with different molds or cutters to create various shapes and sizes.
- Add edible glitter or small sprinkles before the candy sets for extra sparkle.
Storage
Keep the crystal candies in a cool, dry place away from humidity. They will stay fresh and maintain their crust for about 5 to 7 days. Avoid refrigeration after the initial setting, as moisture can soften the crust. When ready to serve, handle gently to preserve the crystal-like texture.
How to Serve
Serve this delicious recipe with your favorite sides.
FAQs
Can I use gelatin instead of agar agar?
Agar agar is preferred for this recipe because it sets firmly at room temperature and is plant-based. Gelatin can be used, but the texture and setting temperature will differ, resulting in a softer candy.
How do I prevent the candy from sticking?
Lightly greasing your containers and using parchment paper on baking sheets helps prevent sticking. Also, letting the candy form a crust by air drying keeps the surface less sticky.
PrintCrystal Candy: Colorful Agar Agar Gelatinous Sweet Treat Recipe
Crystal Candy is a vibrant, homemade sweet treat made using agar agar and sugar. This delightful candy mimics the look of sparkling gems or crystals with vivid colors and customizable flavors. Perfect for candy lovers seeking a fun, visually stunning confection that is gelatin-free and easy to make at home.
- Prep Time: 10 minutes
- Cook Time: 10 minutes
- Total Time: 7 hours including cooling and drying time
- Yield: Approximately 40 small candy pieces 1x
- Category: Candy
- Method: Stovetop
- Cuisine: American
- Diet: Vegetarian
Ingredients
Main Ingredients
- 1 ⅔ cup water
- 3 teaspoons agar agar powder
- 3 cups granulated sugar
- ¼ teaspoon flavoring of choice
- 1–3 drops liquid food coloring (as desired)
Instructions
- Preparation: Before you begin, gather all ingredients and materials because the candy sets quickly after cooking. Lightly grease small containers to hold different flavors. Have your food coloring and flavoring ready to add quickly after cooking.
- Mix Agar Agar and Water: In a small pot, add the water and sprinkle in the agar agar powder. Stir gently and let the mixture stand for 5 minutes to hydrate the agar agar.
- Boil the Mixture: Heat the pot and bring the water and agar agar mixture to a boil. Boil it for 3 minutes while stirring to dissolve the agar agar completely. Then add the granulated sugar and stir until dissolved. Reduce the heat and simmer the mixture for 2-3 minutes.
- Divide and Flavor: Remove the pot from heat and quickly pour the hot syrup into the greased containers. Add your chosen flavoring (total about ¼ teaspoon across all containers) and a few drops of food coloring to each container. Stir gently with a toothpick or wooden skewer to swirl the color and flavor evenly through the candy.
- Refrigerate to Set: Cover the containers and refrigerate for 1-2 hours until the candy is firm but still sticky to the touch.
- Cut the Candy: Remove the set candy by popping it out onto a cutting board. Use a paring knife to cut it into desired shapes. Trim or bevel the edges to create crystal or gem-like facets. Collect any scraps and either combine them with larger pieces or form smaller clusters.
- Dry and Form Crust: Arrange the candy pieces on parchment-lined baking sheets. Store them in a cool, dry place for 5-7 days, rotating occasionally to allow a crust to form on all sides. Covering will slow crust formation.
- Optional Decoration: Once fully crusted, optionally decorate the candy with edible gold luster dust or gold leaf to enhance their gem-like appearance.
Notes
- Work quickly after cooking as the candy sets fast.
- Use small containers straight from the start for easy shaping and portioning of different flavors and colors.
- To get the best crystal effect, bevel the edges of candy pieces carefully.
- Allow adequate drying time for crust formation to enhance texture and handling.
- Edible metallic decorations add a stunning finishing touch but are optional.
- Store candy in a cool, dry place to maintain quality and prevent stickiness.
Keywords: crystal candy, homemade candy, agar agar candy, colorful candy, gelatin-free candy, jewel candy, sweet treat