Dairy and Gluten-Free Banana Pudding Recipe
Introduction
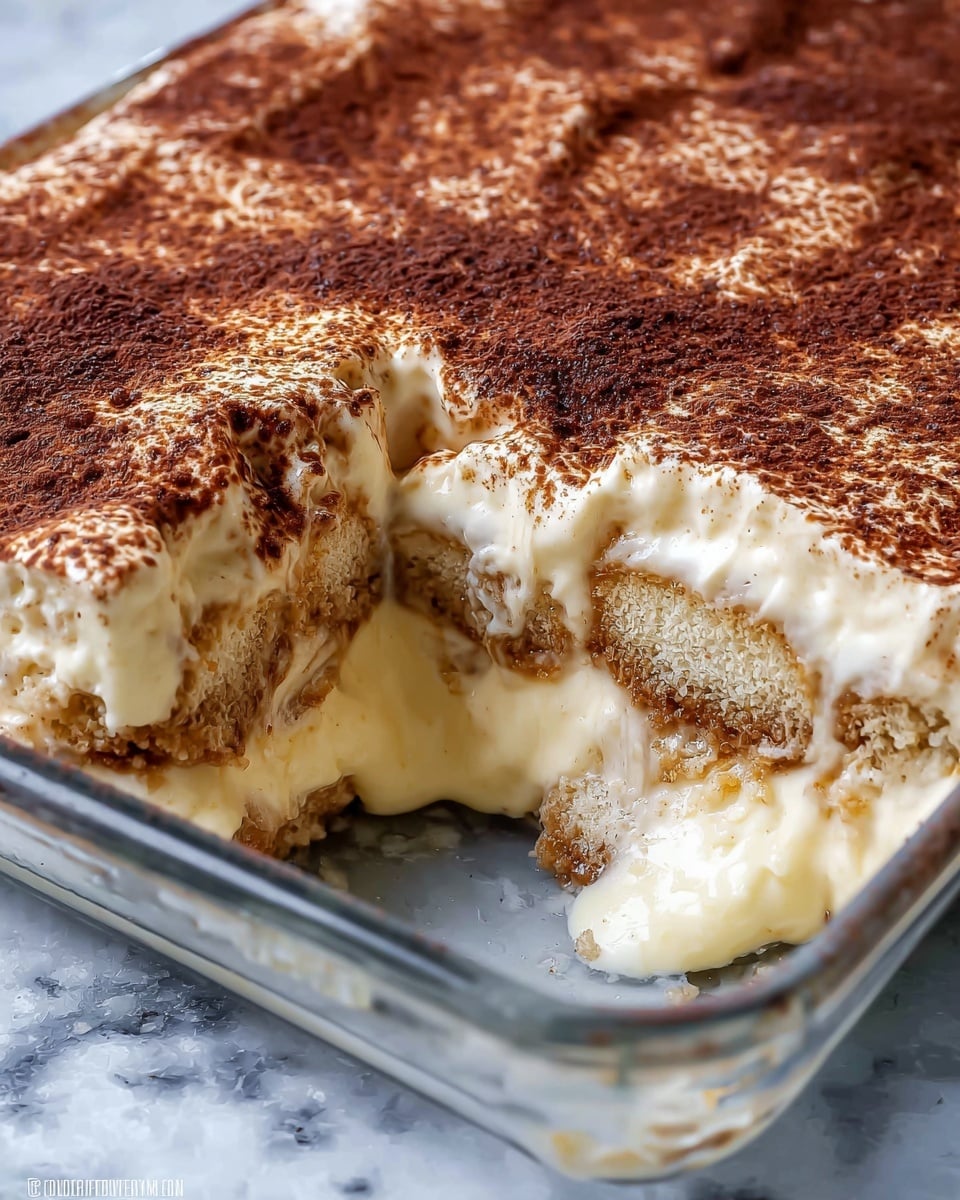
This dairy and gluten-free banana pudding is a delightful twist on a classic dessert. Creamy, naturally sweetened, and layered with crisp homemade wafers and fresh bananas, it’s perfect for those avoiding dairy and gluten without sacrificing flavor.
Ingredients
- 1/2 cup vegan butter (soft)
- 2/3 cup maple sugar (powdered)
- 1 large egg (room temperature)
- 1 large egg white (room temperature)
- 1 ⅓ cup gluten free pastry flour mix
- 1/4 cup coconut milk powder
- 1 tsp vanilla extract (gluten free)
- 1/3 tsp vanilla bean powder
- 1/4 tsp salt
- 1/4 tsp baking soda
- 3 cups non dairy milk
- 1/2 tsp vanilla bean powder
- 8-9 egg yolks (room temperature)
- 2/3 cup maple sugar powder
- 1/4 cup + 1 tbsp arrowroot flour
- 3 tbsp vegan butter
- Pinch of salt
- 8-9 bananas (freshly sliced)
Instructions
- Step 1: Preheat the oven to 325°F. Prepare a baking sheet by lining it with parchment paper.
- Step 2: In a large bowl, cream together the softened vegan butter and half of the powdered maple sugar for about 1 minute until well blended.
- Step 3: In another bowl, mix the egg and egg white with the remaining half of maple sugar until the sugar dissolves. Gradually add this egg mixture to the butter mixture, mixing until smooth and fully incorporated.
- Step 4: Add vanilla extract, coconut milk powder, salt, baking soda, and half of the gluten free pastry flour. Mix until combined, then add the remaining flour and mix until the batter is smooth and fluffy.
- Step 5: Using a teaspoon or a piping bag, drop small dollops (about 1/2 teaspoon) of batter onto the prepared baking sheet, spacing them about one inch apart to allow for spreading.
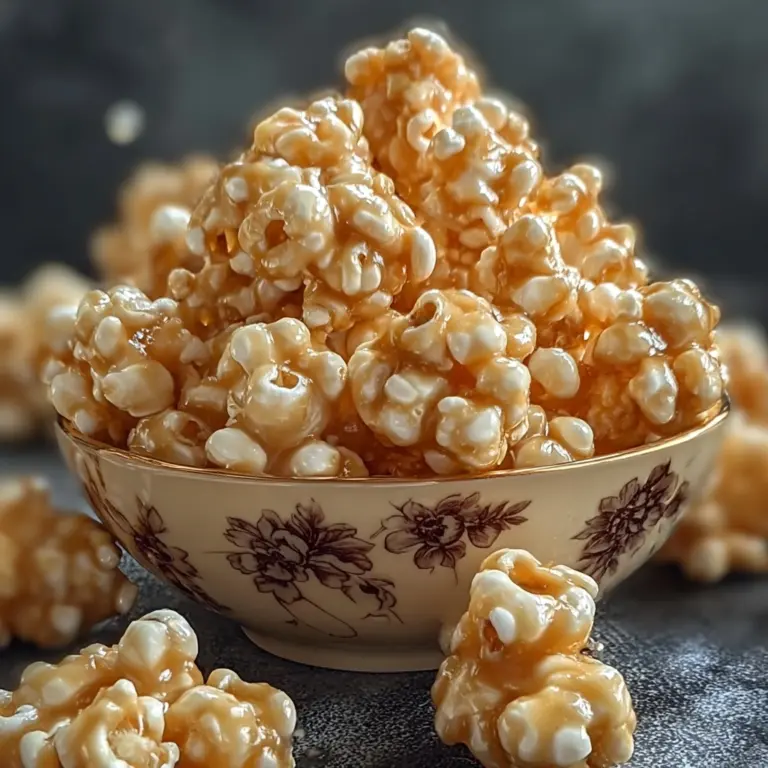
- Step 6: Bake the wafer cookies for 15-18 minutes or until golden brown. Remove from the oven and let them cool completely so they crisp up.
- Step 7: To make the dairy-free vanilla pudding, heat the non-dairy milk in a saucepan over medium heat until just about to boil.
- Step 8: Meanwhile, whisk together the egg yolks, maple sugar powder, 1/2 tsp vanilla bean powder, and a pinch of salt in a bowl until smooth and creamy.
- Step 9: Slowly pour half of the hot milk into the egg yolk mixture while whisking continuously to temper the eggs.
- Step 10: Pour the tempered egg mixture back into the saucepan and cook over moderately low heat, stirring constantly, until the mixture thickens, about 5 to 8 minutes. Do not let it boil.
- Step 11: Remove from heat, stir in the vegan butter until melted and fully incorporated. Place the saucepan in a bowl of ice water to cool the pudding quickly, then cover with plastic wrap to prevent a skin from forming. Refrigerate for at least 3 hours.
- Step 12: To assemble, line a 9×13 inch glass dish with a layer of gluten free wafers. Top with half of the sliced bananas.
- Step 13: Spread half of the chilled pudding over the bananas, then add another layer of wafers.
- Step 14: Repeat with the remaining bananas and pudding. Cover and refrigerate for 4-5 hours or overnight to let the wafers soften slightly.
- Step 15: Before serving, optionally sprinkle with cacao powder or crushed wafer cookies for extra texture and flavor. Enjoy!
Tips & Variations
- Use a piping bag to shape the wafer cookie batter neatly for uniform cookies that bake evenly.
- For a richer pudding, substitute some non-dairy milk with canned coconut milk.
- Add a pinch of cinnamon or nutmeg to the pudding for a warm spice note.
- Replace bananas with sliced strawberries or peaches for a different fruit variation.
Storage
Store the assembled banana pudding covered in the refrigerator for up to 3 days. The wafers will soften over time, creating a creamy texture. Reheat the pudding is not recommended; serve chilled for the best taste and texture.
How to Serve
Serve this delicious recipe with your favorite sides.
FAQs
Can I make the wafer cookies ahead of time?
Yes, the wafer cookies can be baked ahead and stored in an airtight container at room temperature for up to 3 days. This helps maintain their crispness before assembling the pudding.
Is it possible to make this recipe vegan?
This recipe includes eggs; to make it fully vegan, you would need to substitute the eggs with a suitable vegan egg replacer and ensure the vegan butter and milk are strictly plant-based. The texture and flavor may vary slightly.
PrintDairy and Gluten-Free Banana Pudding Recipe
A delicious Dairy and Gluten Free Banana Pudding featuring crispy gluten-free vanilla wafer cookies layered with fresh bananas and creamy dairy-free vanilla pudding. This recipe uses vegan butter, maple sugar, coconut milk powder, and non-dairy milk to create a smooth, rich dessert perfect for those with dairy or gluten sensitivities.
- Prep Time: 25 minutes
- Cook Time: 25 minutes
- Total Time: 5 hours 50 minutes
- Yield: 8–10 servings 1x
- Category: Dessert
- Method: Baking
- Cuisine: American
- Diet: Gluten Free
Ingredients
Gluten Free Wafer Cookies
- 1/2 cup vegan butter (soft)
- 2/3 cup maple sugar (powdered)
- 1 large egg (room temperature)
- 1 large egg white (room temperature)
- 1 1/3 cup gluten free pastry flour mix
- 1/4 cup coconut milk powder
- 1 tsp vanilla extract (gluten free)
- 1/3 tsp vanilla bean powder
- 1/4 tsp salt
- 1/4 tsp baking soda
Dairy Free Vanilla Pudding
- 3 cups non dairy milk (such as almond or oat milk)
- 1/2 tsp vanilla bean powder
- 8–9 egg yolks (room temperature)
- 2/3 cup maple sugar (powdered)
- 1/4 cup + 1 tbsp arrowroot flour
- 3 tbsp vegan butter
- pinch of salt
Assembly
- 8–9 bananas (freshly sliced)
- cacao powder (optional, for garnish)
- crushed gluten free vanilla wafers (optional, for topping)
Instructions
- Prepare Gluten Free Wafer Cookies: Preheat your oven to 325°F. In a large bowl, cream the softened vegan butter with half the powdered maple sugar for about 1 minute until fully dissolved and smooth.
- Mix Eggs with Sugar: In another bowl, whisk together the egg and egg white with the remaining maple sugar until the sugar dissolves completely. Gradually add this egg mixture into the butter mixture, stirring continuously until fully combined and smooth.
- Add Dry Ingredients: To the wet mixture, add the vanilla extract, coconut milk powder, salt, baking soda, and half of the gluten free pastry flour. Mix until incorporated, then add the remaining flour and mix until you achieve a smooth batter that is softly fluffy.
- Shape and Bake Cookies: Use a teaspoon or a piping bag to place dollops of batter (about 1/2 teaspoon) on a parchment-lined baking sheet, spacing them about 1 inch apart to allow spreading. Bake for 15-18 minutes until the wafers turn golden brown. Allow to cool completely so they crisp up.
- Make the Dairy Free Vanilla Pudding: Heat the non-dairy milk in a saucepan over medium heat until it almost reaches a boil. In a separate bowl, whisk together egg yolks, maple sugar, vanilla bean powder, and a pinch of salt until smooth and creamy.
- Temper the Eggs: Slowly pour about half of the hot non-dairy milk into the egg yolk mixture in a thin stream while whisking to temper the eggs and prevent curdling.
- Cook the Pudding: Return the tempered egg mixture back into the saucepan with the remaining hot milk. Cook over moderately low heat, stirring constantly, until the mixture thickens, about 5 to 8 minutes. Do not let it boil.
- Finish and Chill: Remove the saucepan from heat, stir in the vegan butter until fully melted and incorporated. Transfer the pudding to a bowl placed in ice water to cool quickly. Once cold, cover with plastic wrap (pressed directly on the surface to prevent skin) and refrigerate for at least 3 hours.
- Assemble the Banana Pudding: Line a 3-quart (9×13 inch) glass dish with one layer of the gluten free wafer cookies. Top evenly with half the sliced bananas, then spread half the chilled pudding over the bananas. Add another wafer cookie layer.
- Complete Layers and Refrigerate: Repeat with the remaining banana slices and pudding. Cover the dish and refrigerate for at least 4-5 hours or overnight, allowing the wafers to soften and the flavors to meld.
- Serve: Before serving, remove from the refrigerator and optionally sprinkle the top with cacao powder and/or crushed gluten free vanilla wafers for extra texture and flavor. Enjoy your dairy and gluten free banana pudding!
Notes
- The gluten free pastry flour mix should be a blend suitable for baking, ideally with a combination of rice flour, tapioca starch, and potato starch.
- Maple sugar powder replaces traditional white sugar and adds a natural maple flavor while keeping the recipe refined sugar-free.
- Be sure to keep eggs and egg yolks at room temperature before use for better mixing and cooking results.
- When cooking the pudding, stirring constantly and not boiling is crucial to prevent scrambling the eggs and ensure a smooth texture.
- For a vegan version, substitute eggs with a suitable vegan egg replacer but expect a different texture in the pudding.
- Storing the assembled pudding overnight enhances flavor and softens the wafer cookies perfectly.
- Use ripe but firm bananas to prevent them from turning mushy in the pudding layers.
Keywords: dairy free banana pudding, gluten free dessert, vegan butter dessert, non dairy pudding, healthy banana pudding, allergy friendly dessert