Reese’s Peanut Butter Earthquake Cake Recipe
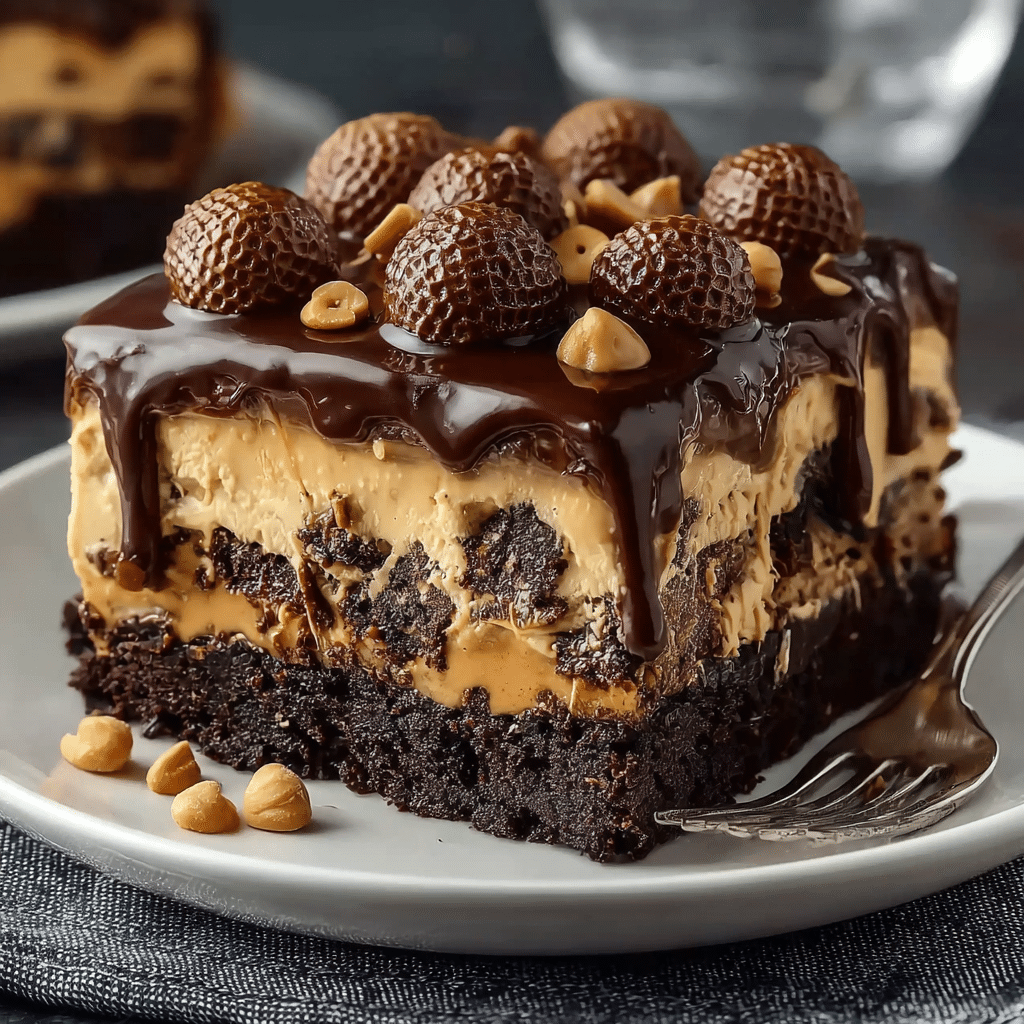
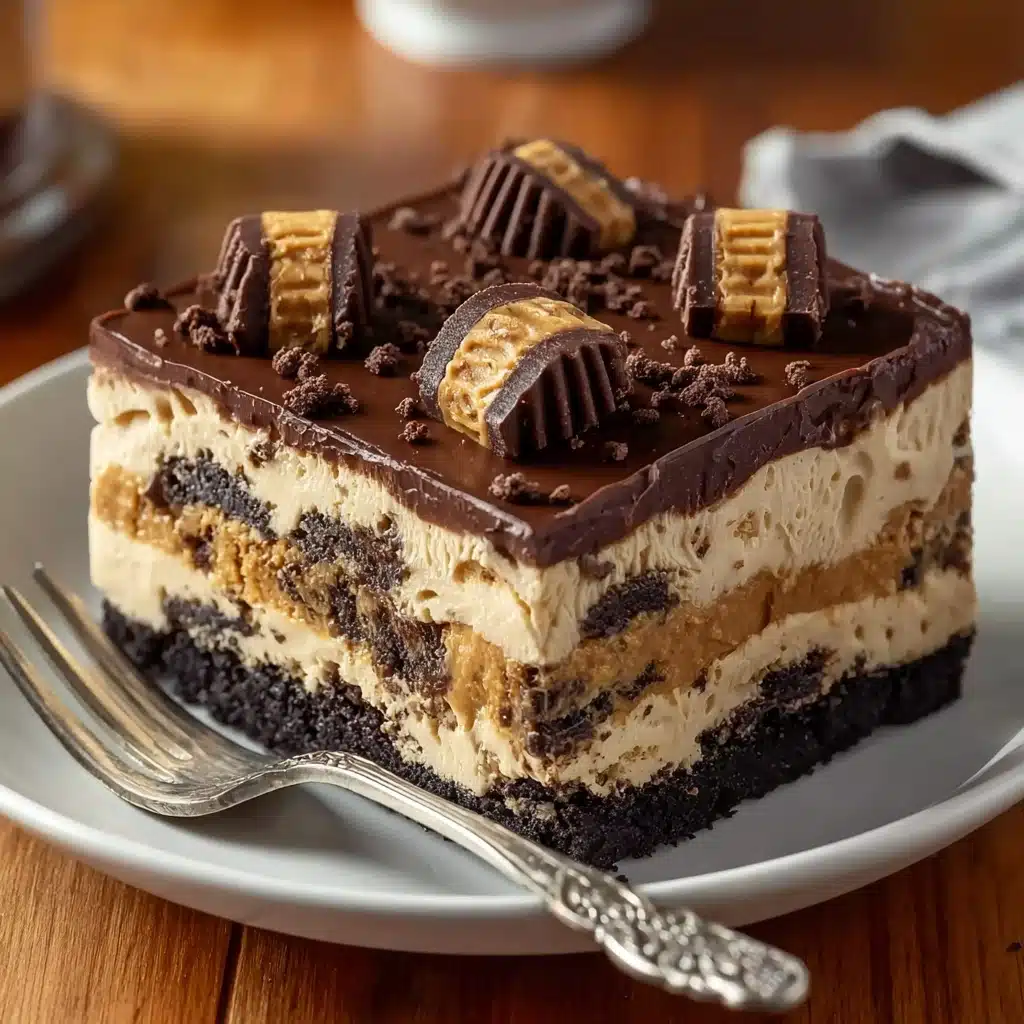
If you are a peanut butter and chocolate lover, get ready to fall head over heels for the Reese’s Peanut Butter Earthquake Cake. This stunning dessert is a rich, gooey sensation that combines a moist chocolate cake base with luscious swirls of creamy peanut butter filling and a generous topping of chopped Reese’s Peanut Butter Cups. It’s like an irresistible flavor explosion in every bite that delights your palate and leaves you craving more. Whether you’re baking for a special occasion or just because, this cake promises a truly comforting and indulgent experience that’s surprisingly simple to make.
Ingredients You’ll Need
These ingredients are straightforward but essential in creating the perfectly balanced Reese’s Peanut Butter Earthquake Cake. Each one plays a key role— from the box mix that delivers a moist chocolate foundation, to the peanut butter and cream cheese that bring creamy, tangy richness, to the iconic Reese’s cups that provide bursts of texture and flavor throughout.
- 1 box chocolate cake mix: The base of the cake, ensuring a moist and rich chocolate flavor with minimal effort.
- 1 cup water: Adds moisture to the cake batter for a soft, tender crumb.
- 1/2 cup vegetable oil: Keeps the cake moist and enhances texture without overpowering flavor.
- 3 large eggs: Bind the ingredients together and add richness.
- 1 cup creamy peanut butter: The star ingredient for that luscious peanut butter swirled taste and creamy texture.
- 8 oz cream cheese, softened: Adds tang and smoothness, balancing the sweetness.
- 1/2 cup unsalted butter, melted: Gives richness and helps create the smooth peanut butter swirl.
- 4 cups powdered sugar: Sweetens and thickens the peanut butter cream cheese filling perfectly.
- 1 tsp vanilla extract: Enhances overall flavor with a warm, aromatic note.
- 1 cup Reese’s Peanut Butter Cups, chopped: The final breathtaking touch that adds crunchy, melty peanut butter chocolate chunks throughout.
How to Make Reese’s Peanut Butter Earthquake Cake
Step 1: Prepare the Cake Batter
Start by preheating your oven to 350°F (175°C) and greasing a 9×13-inch baking dish. In a large mixing bowl, combine the chocolate cake mix, water, vegetable oil, and eggs. Stir everything together until smooth and well blended. This base batter will bake into the rich, fudgy foundation of your cake.
Step 2: Mix the Peanut Butter Filling
In a separate bowl, blend together the creamy peanut butter, softened cream cheese, melted butter, powdered sugar, and vanilla extract. Mix thoroughly until you have a smooth, silky filling that’s ready to spread and swirl through your cake.
Step 3: Combine and Swirl
Pour the cake batter into your prepared baking pan. Next, drop spoonfuls of the peanut butter mixture evenly over the batter. Using a knife, gently swirl the peanut butter filling through the chocolate cake batter, creating that signature “earthquake” effect where the two luscious layers beautifully intertwine.
Step 4: Add the Reese’s Peanut Butter Cups
Sprinkle the chopped Reese’s Peanut Butter Cups generously over the top. These little nuggets will melt slightly during baking, adding irresistible pockets of peanut butter chocolate goodness throughout the cake’s surface and inside every slice.
Step 5: Bake to Perfection
Bake your creation for 35 to 40 minutes. You’ll know it’s done when a toothpick inserted into the center comes out mostly clean, with a few moist crumbs clinging to it. Allow the cake to cool slightly before slicing—this helps it set and makes it easier to serve.
How to Serve Reese’s Peanut Butter Earthquake Cake
Garnishes
Enhance the visual appeal and flavor by adding a few extra chopped Reese’s Peanut Butter Cups on top after baking, or a light dusting of powdered sugar for a delicate finish. A drizzle of chocolate or peanut butter sauce can make it even more decadent and perfect for special occasions.
Side Dishes
Serve warm alongside a scoop of vanilla ice cream or a dollop of freshly whipped cream to balance the richness. A cup of strong coffee or a cold glass of milk pairs beautifully, complementing the sweet, nutty flavors and satisfying your sweet tooth cravings.
Creative Ways to Present
For an eye-catching dessert display, cut the cake into bite-sized squares and serve on a platter with mini forks for a party-ready treat. You can also layer it in a trifle bowl with whipped cream and extra peanut butter cups for a spectacular layered dessert that wows guests.
Make Ahead and Storage
Storing Leftovers
Store any leftover Reese’s Peanut Butter Earthquake Cake covered tightly in the refrigerator for up to 4 days. This helps maintain the creamy texture and keeps the cake fresh, though it’s just as delicious when eaten at room temperature.
Freezing
This cake freezes wonderfully! Wrap it securely in plastic wrap and then in foil or place it in an airtight container. Freeze for up to 3 months. Thaw in the refrigerator overnight before serving to preserve its divine texture and flavor.
Reheating
Reheat individual slices in the microwave for 15 to 20 seconds to enjoy that warm, gooey texture reminiscent of just-baked cake. Avoid overheating to keep the peanut butter creamy and the chocolate moist.
FAQs
Can I make this cake from scratch instead of using a box mix?
Absolutely! While the box mix keeps this recipe quick and foolproof, a rich homemade chocolate cake batter would elevate the cake even further for those who enjoy baking from scratch.
What kind of peanut butter works best?
Creamy peanut butter is preferred for this recipe because it blends seamlessly into the filling, creating a smooth and luscious swirl without graininess.
Can I substitute Reese’s cups with another candy?
Feel free to experiment with other peanut butter chocolates or even chopped peanuts, but the iconic Reese’s Peanut Butter Cups provide the perfect sweet and salty balance that makes this cake special.
Is this cake suitable for parties and large gatherings?
Yes! This cake’s dramatic swirl and peanut butter cup topping make it a crowd-pleaser. Slice it into smaller pieces to serve many guests easily.
Can I use natural peanut butter in the filling?
Natural peanut butter can be used, but you may need to adjust the powdered sugar to balance the texture and sweetness because natural peanut butter tends to be thinner and less sweet.
Final Thoughts
If you’re ready to spoil yourself and your loved ones with an unforgettable dessert, the Reese’s Peanut Butter Earthquake Cake is the way to go. It combines the best of chocolate and peanut butter in a way that feels both decadent and homey. Once you try this cake, it will become a beloved recipe you’ll want to make again and again. So grab your ingredients, preheat that oven, and get ready to create a peanut butter lover’s dream come true!
PrintReese’s Peanut Butter Earthquake Cake Recipe

This Reese’s Peanut Butter Earthquake Cake is a decadent chocolate and peanut butter dessert combining rich chocolate cake with a luscious peanut butter cream cheese swirl and chopped Reese’s Peanut Butter Cups for an indulgent, gooey treat perfect for any peanut butter lover.
- Prep Time: 15 minutes
- Cook Time: 40 minutes
- Total Time: 55 minutes
- Yield: 12 servings 1x
- Category: Dessert
- Method: Baking
- Cuisine: American
- Diet: Vegetarian
Ingredients
Cake Batter
- 1 box chocolate cake mix
- 1 cup water
- 1/2 cup vegetable oil
- 3 large eggs
Peanut Butter Swirl
- 1 cup creamy peanut butter
- 8 oz cream cheese, softened
- 1/2 cup unsalted butter, melted
- 4 cups powdered sugar
- 1 tsp vanilla extract
Topping
- 1 cup Reese’s Peanut Butter Cups, chopped
Instructions
- Preheat Oven and Prepare Pan: Preheat your oven to 350°F (175°C) and grease a 9×13-inch baking dish to ensure the cake doesn’t stick.
- Make the Cake Batter: In a large mixing bowl, combine the chocolate cake mix, water, vegetable oil, and eggs. Stir until the batter is smooth and well blended, then pour it evenly into the prepared baking dish.
- Prepare Peanut Butter Swirl: In a separate bowl, beat together the creamy peanut butter, softened cream cheese, melted butter, powdered sugar, and vanilla extract until the mixture is smooth and creamy, free of lumps.
- Swirl Mixture into Batter: Drop spoonfuls of the peanut butter mixture evenly over the chocolate cake batter. Using a knife or skewer, swirl the peanut butter mixture gently into the batter to create a marbled effect.
- Add Reese’s Topping: Sprinkle the chopped Reese’s Peanut Butter Cups evenly over the top of the swirled batter for extra texture and flavor.
- Bake the Cake: Place the baking dish in the oven and bake for 35-40 minutes, or until a toothpick inserted into the center comes out mostly clean with only a few moist crumbs attached.
- Cool and Serve: Allow the cake to cool slightly in the pan before slicing. Serve warm for gooey indulgence or at room temperature for easier slicing. Enjoy this rich peanut butter and chocolate dessert!
Notes
- Use room temperature cream cheese to ensure smooth mixing.
- For a more intense peanut butter flavor, add extra peanut butter or Reese’s cups on top.
- The cake is best served within 2 days but can be stored in the refrigerator for up to 4 days.
- You can substitute Reese’s Peanut Butter Cups with any peanut butter candy of your choice.
- Letting the cake cool fully before slicing yields cleaner slices.
Nutrition
- Serving Size: 1 slice (1/12th of cake)
- Calories: 480
- Sugar: 36g
- Sodium: 320mg
- Fat: 28g
- Saturated Fat: 11g
- Unsaturated Fat: 15g
- Trans Fat: 0.5g
- Carbohydrates: 52g
- Fiber: 3g
- Protein: 7g
- Cholesterol: 65mg
Keywords: Reese’s, peanut butter cake, chocolate cake, cream cheese swirl, peanut butter dessert, easy cake recipe, chocolate peanut butter dessert